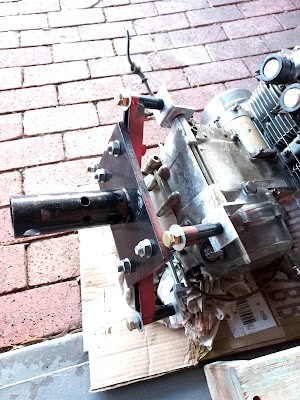
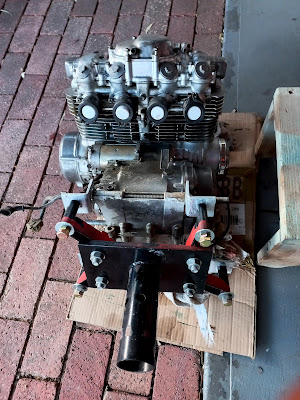
The Honda CB500K1 used to be the factory Candy Jade Green (sometimes also called Candy Jet Green) colour but as you know it was repainted in yellow (with a brush...) so my first plan was to bring it back to it's original colour.
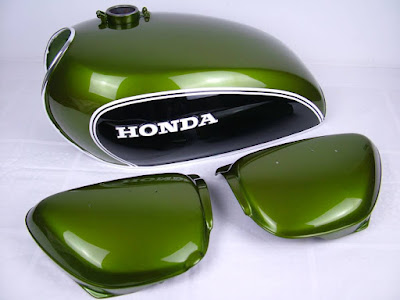 |
| Honda CB500K1 Candy Jade Green example |
I needed a colour sample to match the Candy Green colour but after weeks of fruitless searching I gave up and decided to go for the bike correct 1972 Candy Gold colour.
As Scotty at Benjamin had painted many Honda's in Candy Gold we didn't need a sample as they had the paint mixing formula (or should I say the dye mixing formula..) for an exact match.
First job of course was stripping the tank back to bare metal and get rid of the acrylic paint on the side covers.
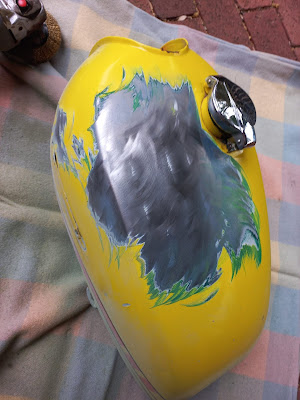
While stripping the fuel tank you could see the original Candy Jade Green paint underneath the yellow paint.
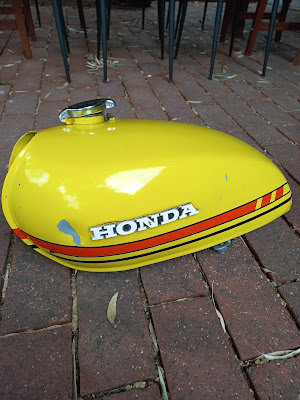 |
| Honda CB500K1 fuel tank |
 |
| Paint stripping Honda CB500K1 fuel tank |
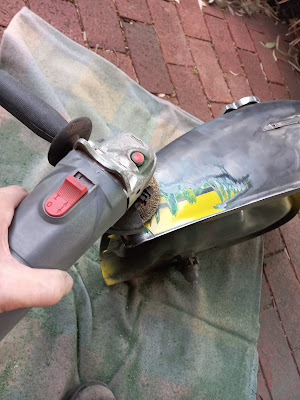 |
Honda CB500K1 fuel tank stripping
|
 |
| Bare metal Honda CB500K1 fuel tank |
 |
Honda CB500K1 with bare metal fuel tank
|
 |
Paint stripping Honda CB500K1side cover
|
The latch of the fuel cap was broken and while searching online for a new one I discovered that a complete new fuel cap incl seal and latch was acually cheaper so that was an easy choice. In order to remove the cap and latch you have to carefully drill out the flanged pins.
The new fuel cap and latch look identical but the pins are solid and have a small groove at the end for a very small E-clip. Easier and handy when you need to remove the cap again.
 |
Honda CB500 four old and new fuel cap and latch
|
The tank decals came off pretty easy as the little special clips over the pins were all rusted and broken. I bought 7 new ones as the Honda CB500K1 uses the same clips for the engine side cover. They are pretty expensive but still a better option than losing your decals and side cover during a road trip...
 |
| Honda CB500K1 original tank decals |
 |
| Honda CB500K1 original 323 tank decals |
The inside of the tank was a bit rusty so I used Metal Rescue. Amazing stuff that only removes rust and won't attack paint, chrome or clean bare metal like acid. I poured in 5L and let it sit for 2 days then put the liquid back in the jug and dried the inside of the tank with a heatgun. It looked almost like new. In order to prevent re rusting I poured 500ml 1:30 two stroke fuel in the tank and made sure it hit all the inside walls. Then drained the fuel tank again.
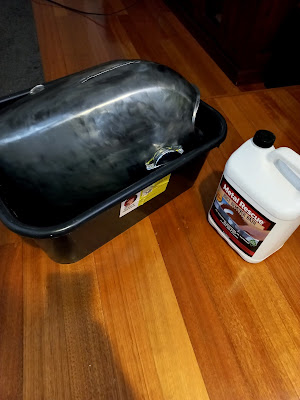 |
| Honda CB500 four cleaning rusty tank with Metal Rescue |
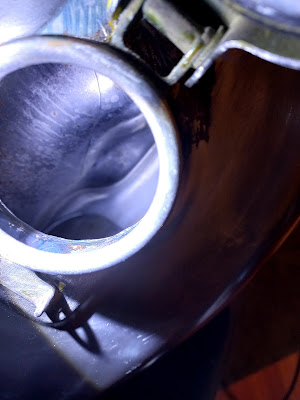 |
| Honda CB500 result after cleaning rusty tank with Metal Rescue |
The old original fuel tap was leaking and as I have bad experiences with replacing the rubber O-rings and seals I decided to replace the whole thing with a new one. The price of a new complete fuel tap is only a bit higher then the cost of replacing the rubber seals. Most of the replacement seals are not fuel resistant, start swelling, and after a year or so they are shot and start leaking again.
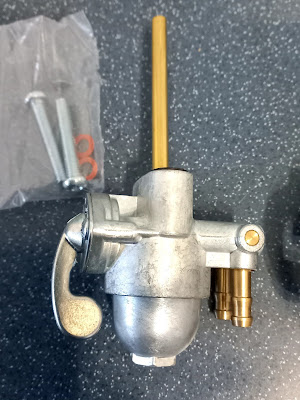 |
| Honda CB500K1 new fuel cock |
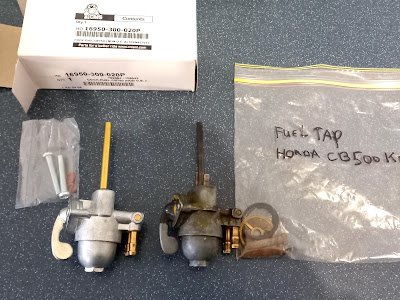 |
| Honda CB500 four old and new fuel cock |
The 2 small dents were extracted and filled and when the tank was back in its original shape it received a couple of good coats of primer.
 |
| Honda CB500 four fuel tank in primer |
 |
| Honda CB500 side covers in primer |
Painting the Honda CB500K1 fuel tank in the original Candy Gold color is a pretty complex process. First you need a silver base colour and then a couple of coats with the Candy Gold dye. Every coat will make the gold colour a bit darker and you need to move your gun with a constant speed and at the same height otherwise you'll get a patchy end result. When this is all done the whole tank was clear coated. Now it's time to grab your new stripe stickers and line out what part on both sides is gonna be painted black. We also used an old original tank and copied the black shape with masking tape and tranfered that on the new tank as a a double check.
When the sides are sprayed black you rub it all back so you won't see the thicker edge between the candy gold and black. Now you can put the stripes on and give the whole tank a couple of clear coats again.
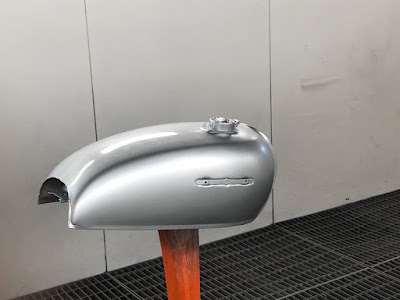 |
| Honda CB500K1 fuel tank silver base colour |
The original Honda Candy Gold paint colour isn't just a colour you can buy but after a lot of trial and error they found the right mixing formula at Benjamins for an exact match.
The paint and dye are from the brand DNA and you need 2 different dyes to get the right mix; Sahara yellow and Sunrise yellow. The dyes are mixed with the FX intercoat builder.Only the paint (primer, filler, FX, 2x dye, silver base, black side, clear) will cost you hundreds of dollars, add the highly skilled labour and professional equipment and spray booth and you'll understand why these paint jobs are so expensive,
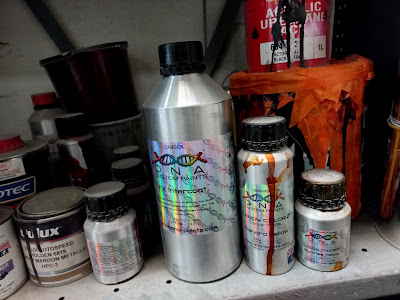 |
| Honda CB500K1 Candy Gold mixing formula |
 |
| Honda CB500K1 Candy Gold |
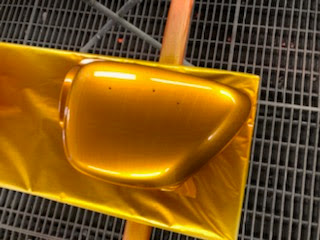 |
| Honda CB500K1 Candy Gold side covers |
 |
| Honda CB500 tank example |
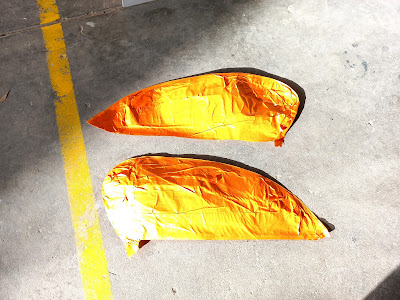 |
Honda CB500 measuring black tank side area with masking tape
|
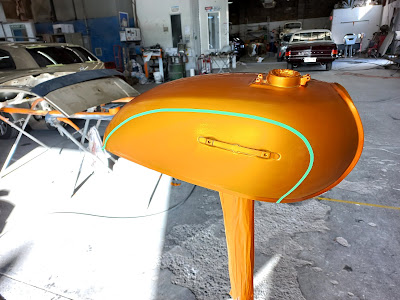 |
| Honda CB500K1 masking black tank side area |
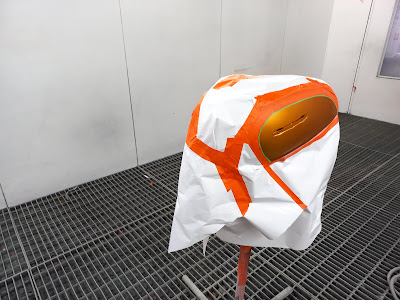 |
| Honda CB500 masking black tank side area |
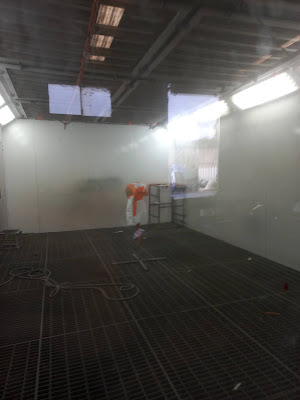 |
| Honda CB500K1 painting black tank side area |
 |
| Honda CB500 four 1972 Candy Gold fuel tank |
 |
| Honda CB500K1 1972 Candy Gold fuel tank |
 |
| Honda CB Candy Gold fuel tank |
Most of the time after spray painting side covers and fuel tanks, the holes to mount the badges (87124-323-000) on are just a little bit too narrow, same with the pin holes for the fuel cap and latch. I always use a small sharp drill bit and turn/push it slowly through the pin holes. This way you avoid the risk of damaging the fresh paint or breaking a mounting pin of your badge.
 |
| Honda CB500 four fixing mounting holes after painting |
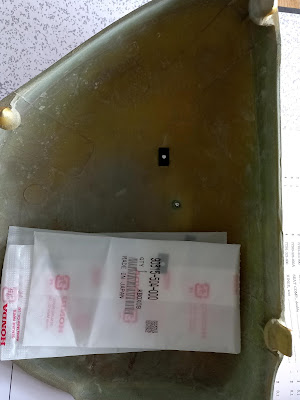 |
| Honda CB500 four side cover badge retaining clips |
 |
| Honda CB500K1 1972 inside original 323 side cover left |
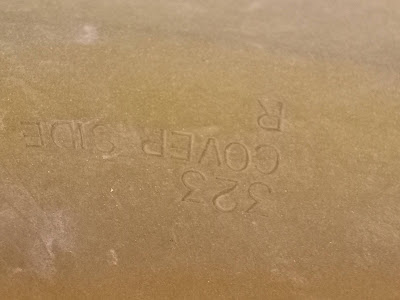 |
| Honda CB500K1 1972 original 323 side cover right |
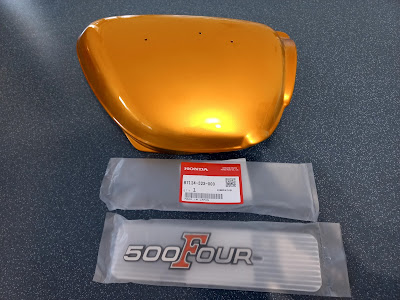 |
| Honda CB500 Candy Gold side cover badges (87124-323-000) |
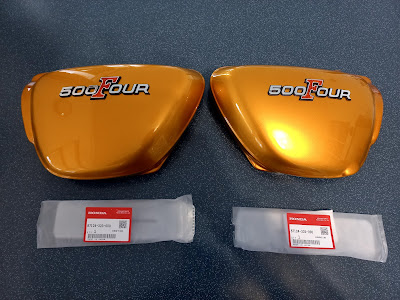 |
Honda CB500 Candy Gold side cover badges
|
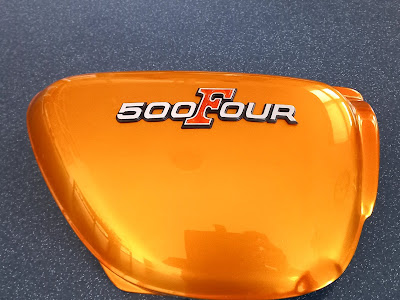 |
| Honda CB500 four 1972 Candy Gold side cover |
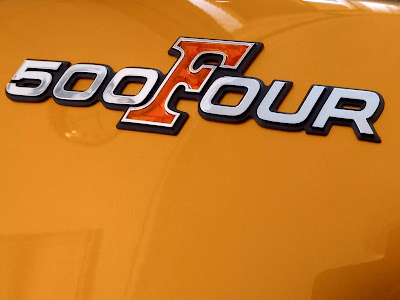 |
Honda CB500 four 1972 Candy Gold side cover badge
|
After all the paint coats the space between the two mounts for the fuel tap latch was too narrow and I had to sand both inner sides back a bit. It's a bit fiddly to install the little spring as the pin has to go trough it but after a couple of attempts the pin was all the way through. When installing the small spring make sure the two ends are facing towards the opening and are underneath the latch. Next thing was to install the very small E-clip into the groove of the pin on the other side.. fiddly again but not too bad.
When opening and closing the fuel cap use both hands and push down the latch as well as the cap otherwise you'll risk breaking the latch again.
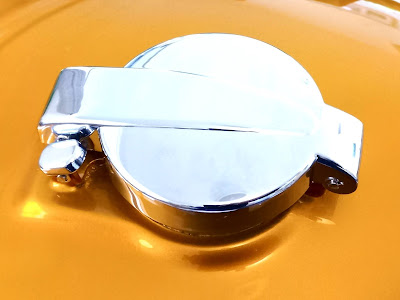 |
| Honda CB500 four fuel cap and latch installation |
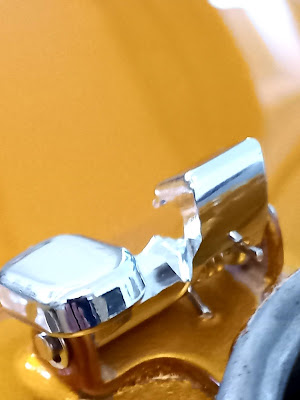 |
| Honda CB500 four fuel cap and latch spring installation |
Last thing for now was to install the tank emblems. I repainted the flaky white letters with a small pencil and some white paint from a rattle can sprayed into its lid. As metioned before the old retaining clips (11633-323-000) were shot so I took them off the pins and after cleaning the pins, pushed the new ones carefully over them. Make sure you push the new push clips all the way down otherwise you'll end up with a gap between the badge and the tank surface.
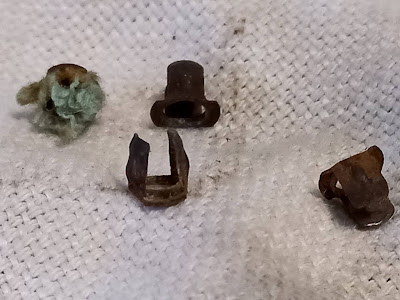 |
| Honda CB500 four old emblem retaining clips |
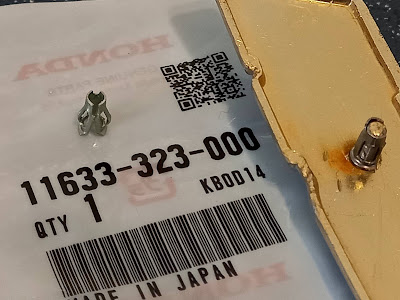 |
| Honda CB500 four new tank emblem push clips |
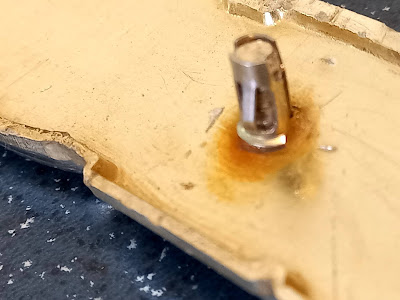 |
Honda CB500 four new tank emblem push clip installed
|
 |
| Honda CB500K1 new tank emblem push clip close up |
I'll install the fuel tap just before I put the tank back on the bike as I wanna let the fuel tank breathe as much as possible so you won't get condensation and hopefully it will stay completely dry.
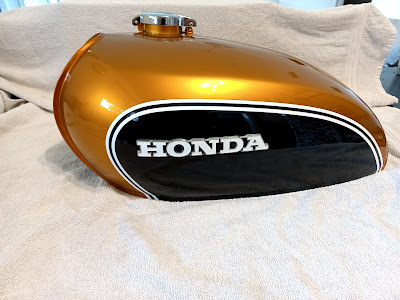 |
| Honda CB500K1 1972 Candy Gold |
 |
| Honda CB500 four1 1972 Candy Gold |
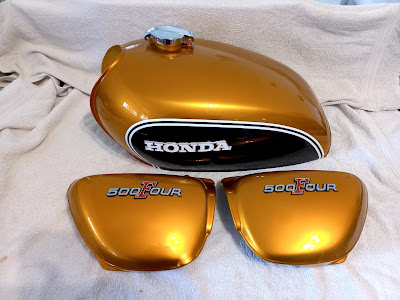 |
| Honda CB500K1 1972 Candy Gold fuel tank and side covers |
 |
| Honda CB500K1 1972 Candy Gold fuel tank |


