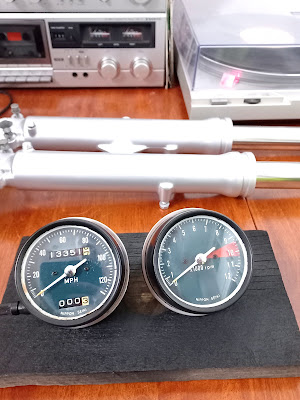
Sunday 14 November 2021

Rebuilding the front fork Honda CB500K1

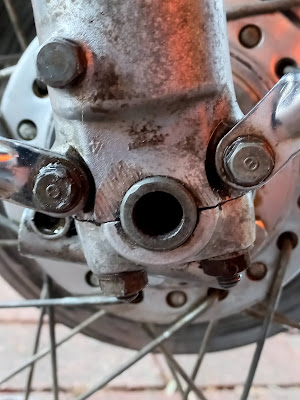
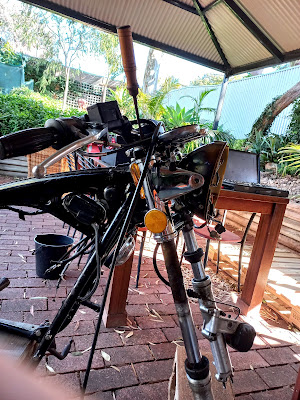
As I wanted to respray the frame of the bike, every part had to come off, including the front suspension. After removing the front wheel, front fender and brake caliper it's just a matter of loosening the triple tree bolts and pull the legs out...Easier said then done... The inner front legs didn't look too bad, minimal pitting, all straight, but when I tried to remove them from the triple tree the fun started.
Btw before you try to remove the forklegs, loosen all the bolts in the legs, like the top fork bolts, bottom allen bolt, drain plug bolt, etc.. It's way easier to do this when the legs are still hold by the triple tree.

Honda CB500K1 frame
Honda CB500K1 1972 frame

Honda CB500K1 front fork bolts
Honda CB500K1 front fork retainer

Honda CB500K1 front fork bottom allen bolt

Honda CB500K1 front fork rebuild

Honda CB500K1 removing front brake caliper

After loosening the triple tree clamp bolts that hold the inner legs in place I tried to pull them out but they wouldn't move an inch. I guess one of the previous owners tried the same before as both the fork top bolts showed evidence of hammering and other forms of abuse.
I drowned the ears/legs in WD40 and let it sit for a day or two... still no movement...

 Then I carefully used a chissel as a wedge on the triple tree clamps and hammered on a piece of wood on top of the already damaged fork top bolts. Finally it came loose and I could pull them out of the triple tree and fork ears.
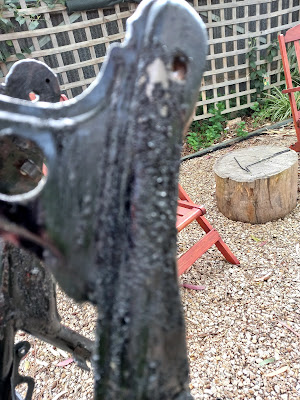
Damn.. the inner legs were totally pitted and rusted at the area that used to sit inside the fork ears.
Luckily you can buy perfect reproduction ones and that's exactly what I did. 
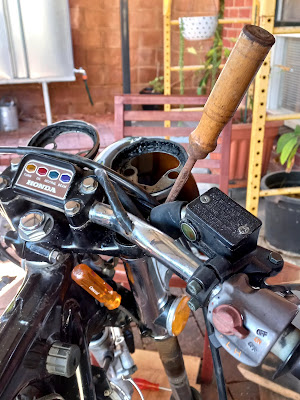
 

Honda CB500K1 removing front forks from triple tree

Honda CB500K1 removing front forks from triple tree

Honda CB500K1 removing front forks from triple tree
Honda CB500K1 removing rusty front forks

Honda CB500K1 removing front forks from triple tree
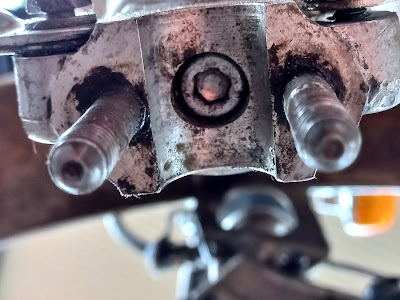
Honda CB500K1 fork ears

Honda CB500K1 fork ears
Honda CB500K1 1972 fork ears

Next thing to do was removing  the old silver paint (what was left of it..) and corrosion that was on the lower outer legs. I used the grinder with a brush wire wheel. I used a vice to hold the inner front fork as I was gonna replace that anyway, and that way it was easy to turn the lower leg while brushing of the old paint and corrossion. Be very careful and don't push too hard as the lower legs are made of aluminium and are very soft. I held the wire wheel in a 45 degree position and the corrosion and paint came of nicely without damaging the aluminium legs.

After draining the old oil trough the oil drain hole by pumping the legs a couple of times you can take the legs apart. This is pretty straight forward, especially if you've already loosened the bolts and nuts before the removal of the fork legs.
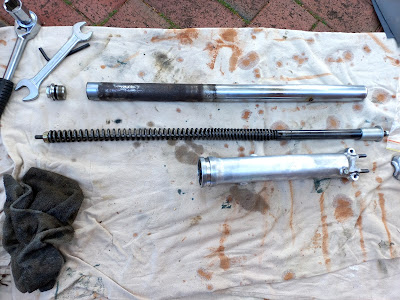
Honda CB500K1 separating inner and outer fork legs

Honda CB500K1 inner and outer fork legs

Honda CB500K1 fork legs top nuts

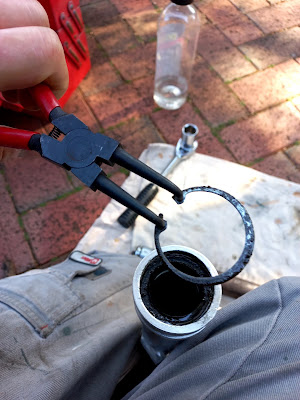
Another thing that had to come out of the outher leg was the fork oil seal. After removing the circlip you can just pry it out with a screwdriver. (Be careful not to scratch the aluminium inside of the leg).However it didn't wanna move. The old Honda seals are known for their resistance when you wanna pry them out but these were extremely stubborn and after a couple of hours I gave up trying to remove it with a srewdriver.
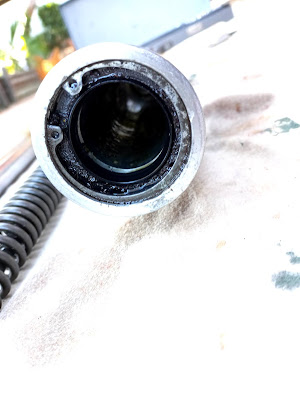
Honda CB500K1 fork leg seal
Honda CB500K1 fork leg seal and snap ring

Honda CB500K1 fork leg seal circlip removal
Honda CB500K1 fork leg seal snap ring removal

Honda CB500K1 fork leg old seal removed
Honda CB500K1 fork leg snap ring groove

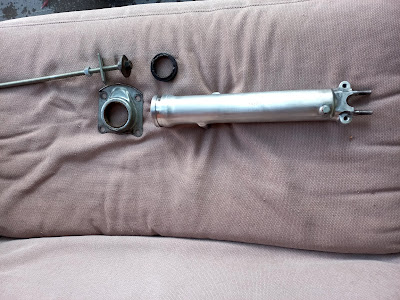
I grabbed some old parts in the shed and made a fork oil seal remover.
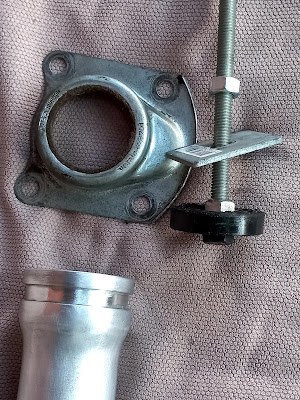
Start with a washer that's just a bit smaller then the oil seal and grind/cut of two sides. This way you can slide it underneath the metal lip of the seal. Mount the modified washer on a treaded rod with two nuts and slide it under the seal lip. The idea is to lift the oil seal out by srewing a nut on the other side of the rod. 

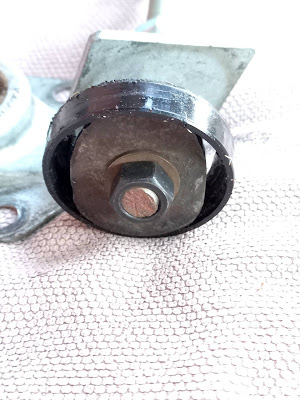
First of all you need to create some travel for the washer/seal/nut combination so the top of the seal can at least get flush with the top of the outer leg. I used an old Volvo 122S wheel bearing part but other bits will work just as well.
On top of that I put another piece of metal that's bigger than the hole. When bolting the nut on the treaded rod the modified washer will evenly pull out the stubborn front fork oil seal.
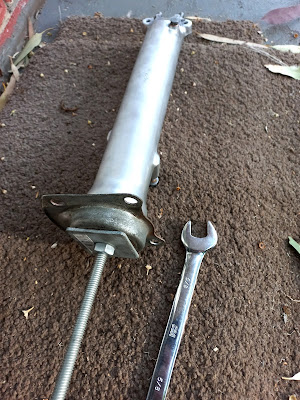
 

Honda CB500K1 fork leg old seal removal tool

Honda CB500K1 fork leg old seal removal tool

Honda CB500K1 fork leg old seal coming loose

Honda CB500K1 fork leg old seal coming loose

Honda CB500K1 fork leg old seal finally out
Honda CB500K1 fork leg old seal coming loose

Honda CB500K1 home made fork leg seal removal tool

Honda CB500K1 home made fork leg seal removal tool

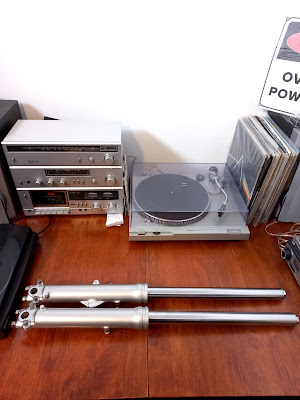
Finally got them out. Time for some sanding and light silver two pack.
I know a lot of people say the front legs of a Honda CB500K four were originally polished and then clear coated but there's also people saying they were painted a very light silver and then clear coated or the silvery colour came from the zinc that was used when moulding the aluminium forks back in the seventies.... Hmm... I'll go for the light silver paint which looks cool and is easier to maintain then polished forks.


Honda CB500K1 reassembling the front forks

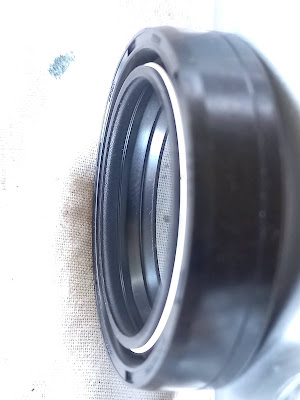
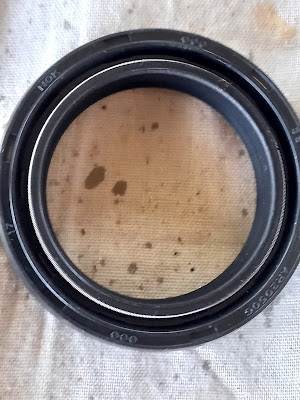
Putting back together the front fork legs isn't too difficult. Make sure you've got a socket or similar to tap in the new oil seals. The oil seals have a top and bottom. The side with the two inner lips goes in first. The text on the outside is the top. Before you start pushing them in make sure you put some ATF on the mating surfaces. Also be careful to put the oil seals in perfectly flat (not on an angle). The seal should go below the groove for the snap ring. Again make sure it's not in an angle..
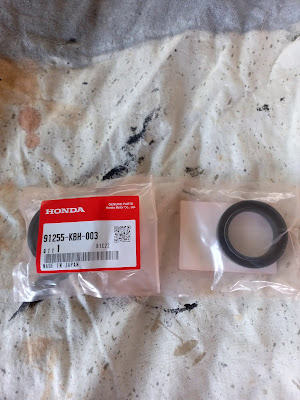
Honda CB500K1 new oil seals front fork

Honda CB500K1 new oil seals front fork inside lips
New oil seals front fork inside lips

Honda CB500K1 new oil seals front fork text on top
Oil seals front fork text on top

Honda CB500K1 fitting new oil seals front fork

Honda CB500 four fitting new oil seals front fork
Fitting new oil seals front fork


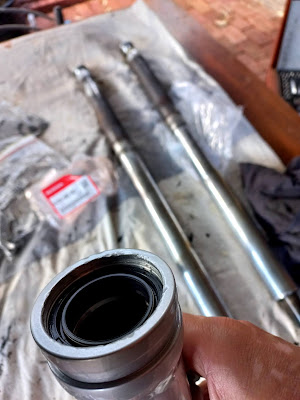
After fitting the snap ring I put the spring in the new inner leg and slide it carefully through the fork seal into the outer leg. Then torque the 8mm allen bolt with ca. 14lbs-ft. Don't forget the copper washer.
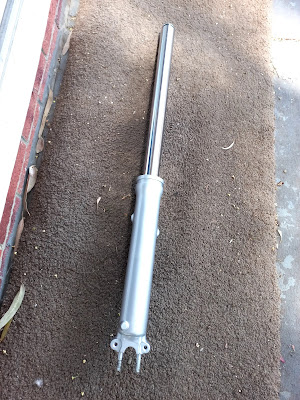
Honda CB500 four fitting new oil seals front fork
Fitting new oil seals front fork


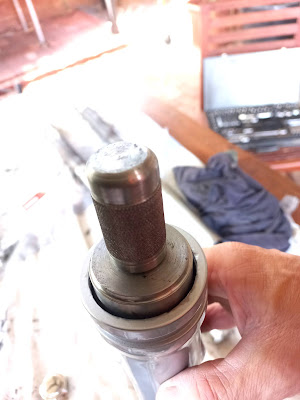
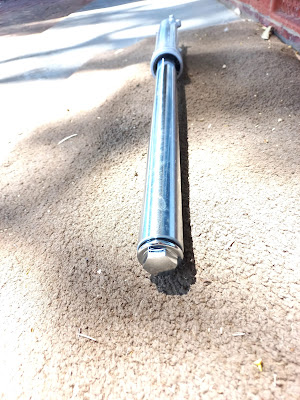
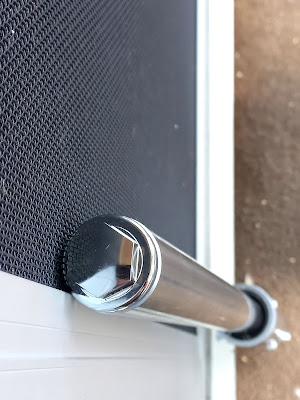
Next step is making sure the lock nut at the top of the spring is all the way in till the bottom of the thread. Then fill the fork leg from the top with 160ml ATF and close the fork with the shiny chromed fork nut. Actually I didn't do that and wait with the last step until the forks are bolted back on the bike. That way it's easier to torque the big fork bolts to spec (ca 45 lbs-ft)
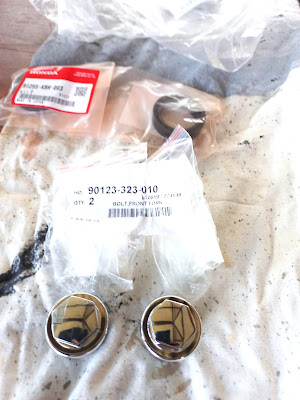
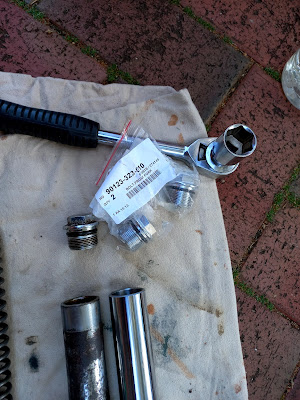
Honda CB500K1 new fork bolts
Honda CB500K1 new fork bolts 90123-323-010

Honda CB500K1 new fork bolts
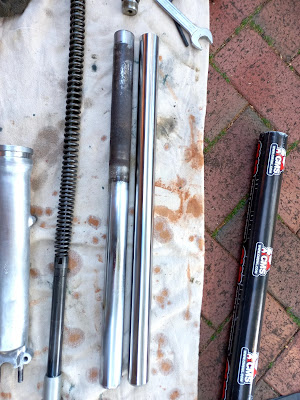
New fork bolts and inner legs

Honda CB500 four new fork bolts and inner legs
Shiny

Honda CB500K1 ATF front fork legs
Use 160ml ATF per front fork leg

Just for fun and motivation I fitted the rubber fork boots and lamp ears :)
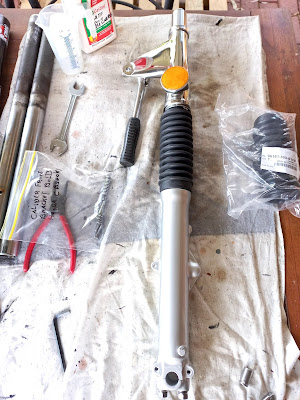
Honda CB500K1 front fork legs with boots and ears

Honda CB500K1 front fork legs with boots and ears
Front fork leg with boot and ear

Honda CB500K1 front fork legs rebuild


Saturday 6 November 2021

Stripping and painting the frame

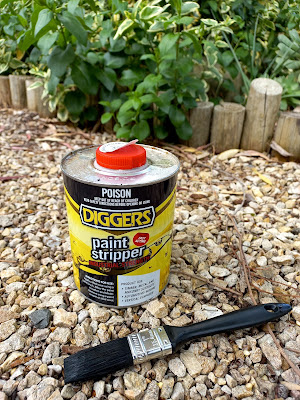
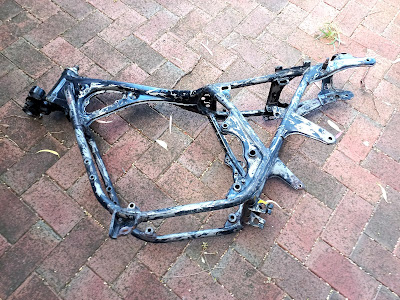
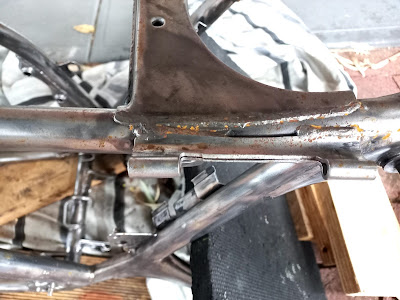
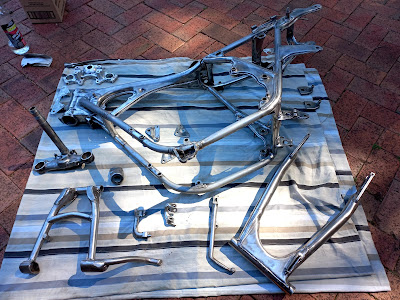
Another job I took on was stripping the frame back to bare metal. The old paint was flaking, scratched and rust was coming through. I started with paint stripper and wiped it off with some steel wool.
Honda CB500K1 frame
Honda CB500K1 frame

Honda CB500K1 paint stripping frame

Honda CB500K1 1972 paint stripping frame
Stripping frame
Honda CB500K1 paint stripper
Paint stripper

Honda CB500K1 frame after paint stripper
Honda CB500K1 frame after paint stripper and steel wool


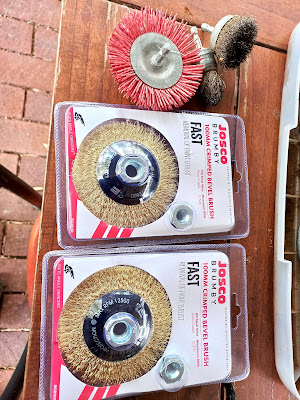
The next day I used the angle grinder with a brush wheel (x4) to get all the old paint and surface rust off. It took me close to six hours.. Be careful with the angle grinder because it can bite or bounce when used in the wrong position. After a while you'll learn what's the best way to hold the angle grinder to clean out all those different little nooks and corners.


Honda CB500K1 frame paint removal with wire brush wheel
Frame paint removal with wire brush wheel


Honda CB500K1 frame paint removal with wire brush wheel
Frame paint removal with wire brush wheel on grinder


Honda CB500K1 frame paint removal with wire brush wheel
Paint removal with wire brush wheel


Wire brush wheel for grinder
Wire brush wheels for grinder


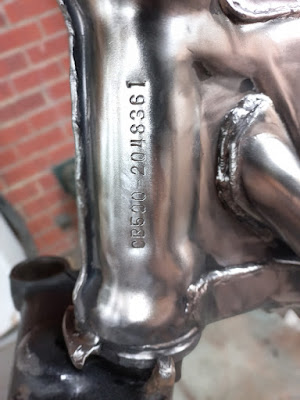
Frame number Honda CB500K1 1972

 I left the frame under the gazebo in the backyard but a freak storm with strong winds and heavy rain was able to reach the bare metal frame and it developed some flash rust within 24 hours... Grr .. another hour of grinding.


Flash rust on bare metal frame

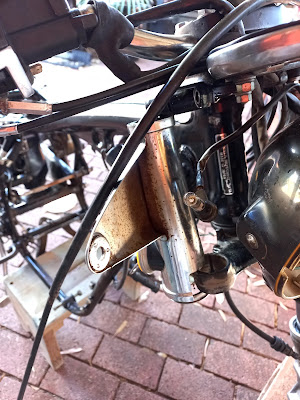
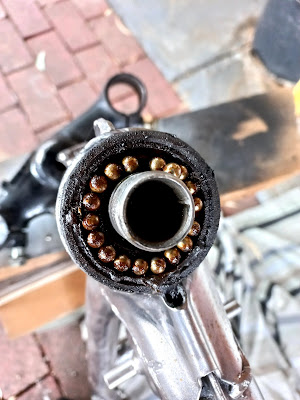
I also removed the old steering ball bearings. This was another fight with a stuck lock nut. You need a special C-wrench for this lock nut but I didn't have one so I carefully tried it with a dull punch in the notches. Anyway it took me several attempts spread over two days to get it loose..
I will replace the ball bearings later on with tapered steering bearings, a very common upgrade on these old Honda bikes.

Honda CB500K1 steering ball bearing lock nut


Honda CB500K1 old steering top ball bearing

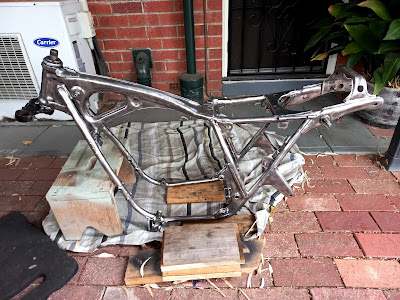
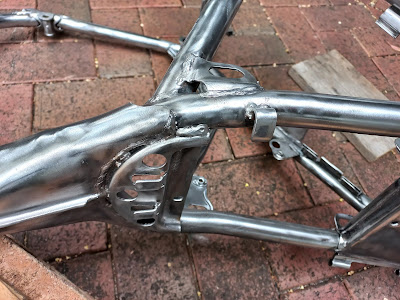
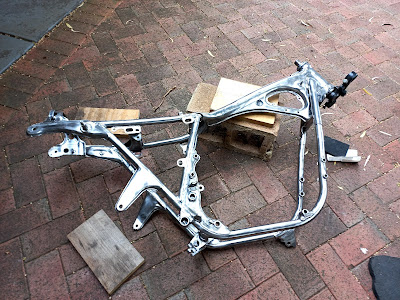
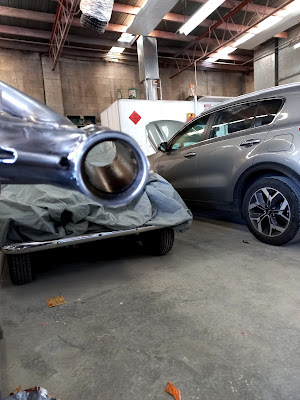
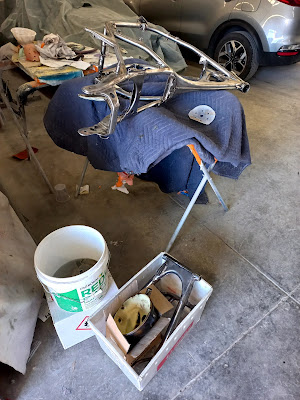
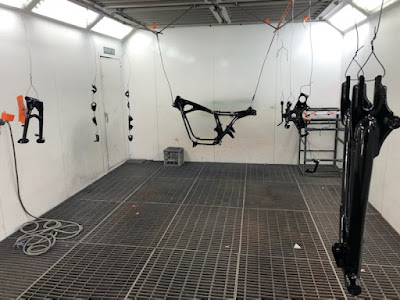
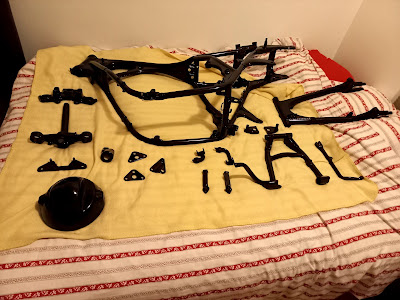
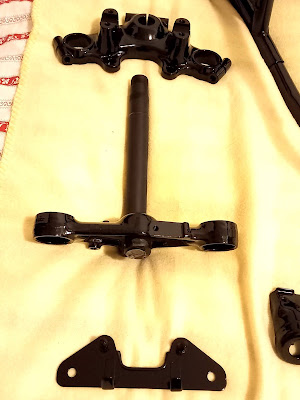
 After carefully wiping the frame with wax and grease remover it received a coat of etch primer followed by 2pac gloss black and a couple of clear coats and it looks great :)


Honda CB500K1 bare metal frame before painting
Bare metal frame just before painting

 
Honda CB500K1 bare metal frame before painting
Old steering bearings removed, Nice view ;)

Honda CB500K1 bare metal frame before painting
Frame cleaned with wax and grease remover


Painting frame Honda CB500K1

Honda CB500K1 frame after painting gloss black


Honda CB500K1 frame after painting gloss black
Hangers and key cover Honda CB500 K1


Honda CB500 K1 frame after painting gloss black
More painted bits Honda CB500


Honda CB500K1headlight shell after painting gloss black
Also the head light shell was painted after a crack repair

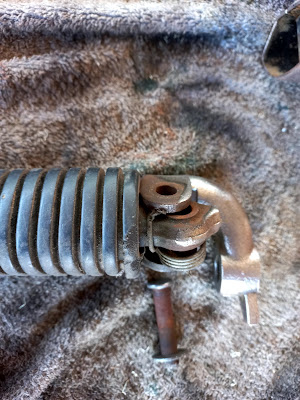
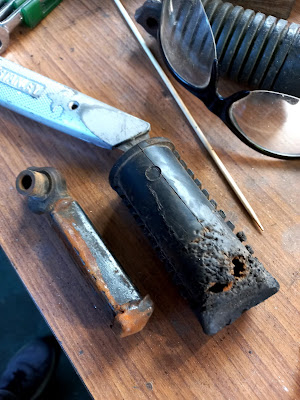
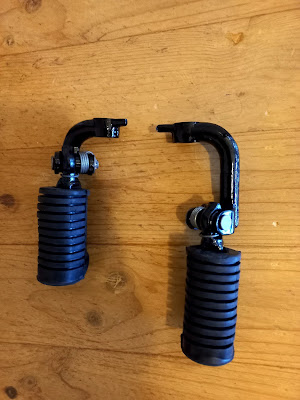
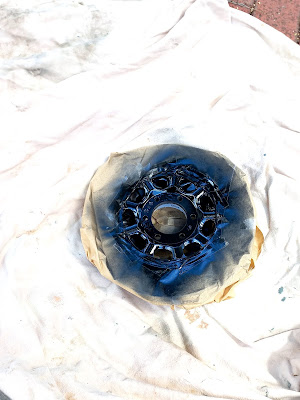
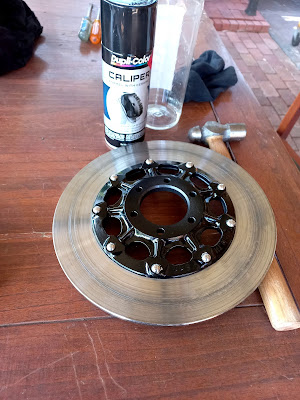
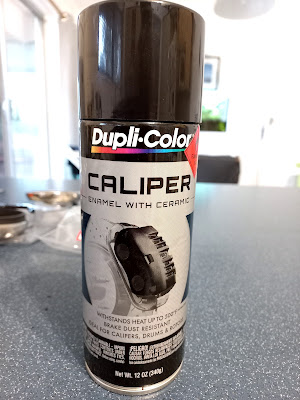
A week later the inner foot pegs, speedo and tacho also received some new paint as well. I used Gloss black caliper paint as I was painting the front brake caliper and brake disk with the same paint.


Honda CB500K1 foot pegs
Honda CB500K1 old foot peg


Honda CB500K1 old foot peg
Old foot peg

Honda CB500K1 foot pegs
Old foot peg

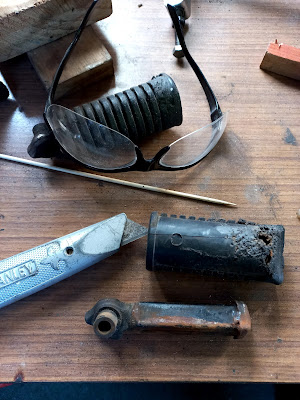
Honda CB500K1 cutting off old foot pegs


Honda CB500K1 cutting off old foot pegs
Cutting off old foot peg rubber


Honda CB500K1 foot pegs with new paint and rubber


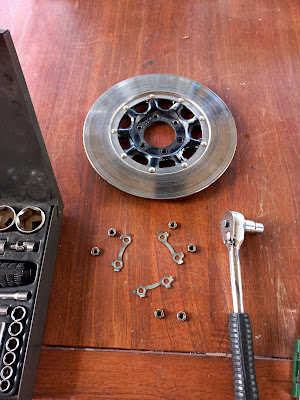
Honda CB500K1 front brake disk with old paint

Honda CB500K1 front brake disk


Honda CB500K1 painting front brake disk
Painting front brake disk


Honda CB500K1 painting front brake disk
Painting front brake disk


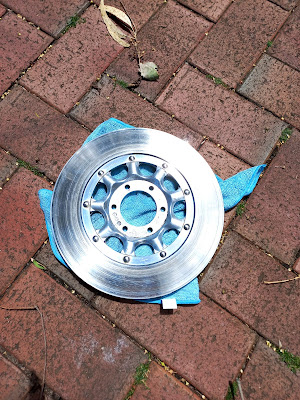
Honda CB500K1 painted front brake disk
Brake disk front wheel

Update 28-01-2022:
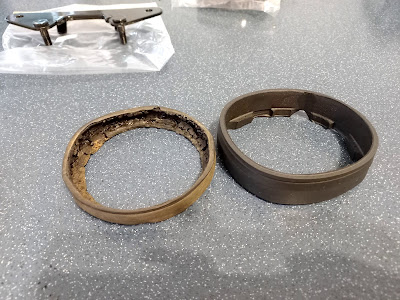
I decided not to open the gauges because it's a difficult job and you most probably ruin the metal crimp ring. The faces are a bit faded but not too bad. The rubber rings between the gauges and holders were completely shot and crumbled when I separated them from the gauges. I ordered new ones but it seems they are a bit higher then the originals. But after bolting everything down they got pushed in and look fine.

I also tested the speedo on the workbench with a drill attached to the speedo cable. Make sure you put the drill in reverse otherwise nothing will happen :)

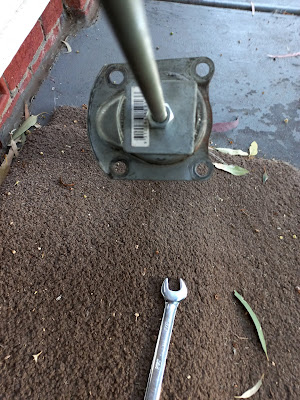
Testing the speedo with a drill


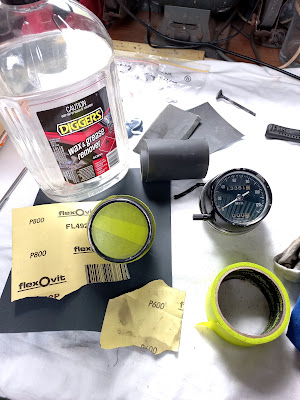
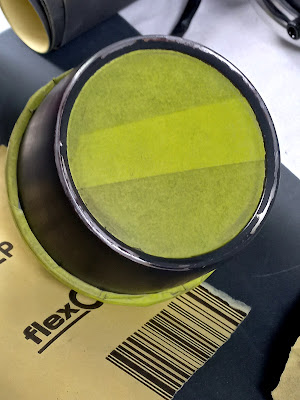
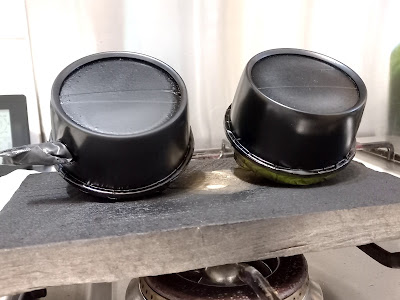
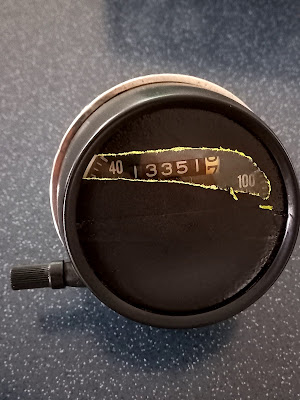
After sanding the gauges with 400, 600 and 800 I painted them on a high humidity day (ca 80%) so the gloss caliper paint would dry a bit more flat and would match the original colour. Make sure you mask the glass and chrome rings before you start sanding to avoid scratches.If you have a bit of overspray on the edge of the glass or chrome you can easily remove it with a razor blade.


Honda CB500K1 speedo and tacho 1972
Honda CB500K1 speedo and tacho parts 1972

Honda CB500K1 speedo and tacho painting
Honda CB500K1 speedo and tacho masking

Honda CB500K1 speedo and tacho painting
Honda CB500K1 speedo and tacho masking

Honda CB500K1 speedo and tacho rubber
Honda CB500K1old and new gauge damper rubber

Honda CB500K1 speedo and tacho painting

Honda CB500K1 speedo and tacho painting
Caliper paint - speedo and tacho painting

Honda CB500K1 speedo and tacho painting
Caliper paint - speedo and tacho painting

Honda CB500K1 speedo  painting
Honda CB500K1 speedo painted

Honda CB500K1 speedo and tacho painting
Honda CB500K1 speedo and tacho painted

Honda CB500K1 speedo and tacho damper rubber
Honda CB500K1 tacho rubber look on poster