Another job I took on was stripping the frame back to bare metal. The old paint was flaking, scratched and rust was coming through. I started with paint stripper and wiped it off with some steel wool.
 |
| Honda CB500K1 frame |
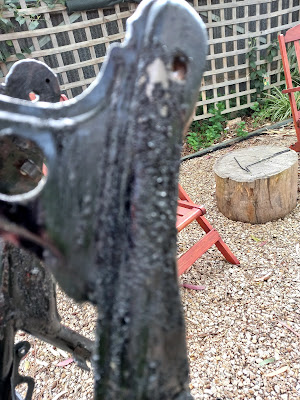 |
Honda CB500K1 paint stripping frame
|
 |
| Stripping frame |
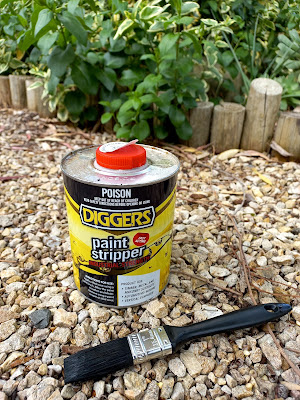 |
Paint stripper
|
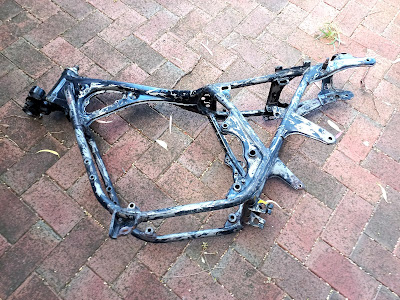 |
Honda CB500K1 frame after paint stripper and steel wool
|
The next day I used the angle grinder with a brush wheel (x4) to get all the old paint and surface rust off. It took me close to six hours..
Be careful with the angle grinder because it can bite or bounce when used in the wrong position. After a while you'll learn what's the best way to hold the angle grinder to clean out all those different little nooks and corners.
 |
| Frame paint removal with wire brush wheel |
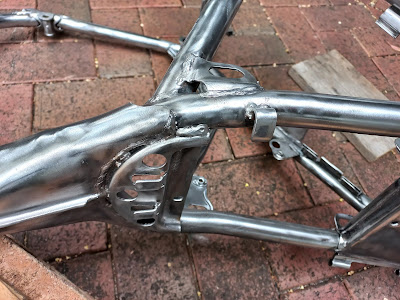 |
Frame paint removal with wire brush wheel on grinder
|
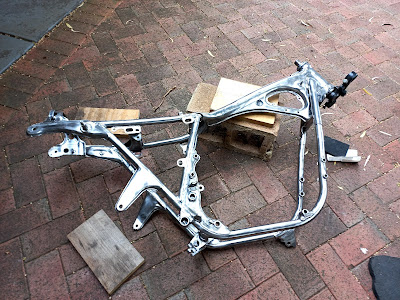 |
| Paint removal with wire brush wheel |
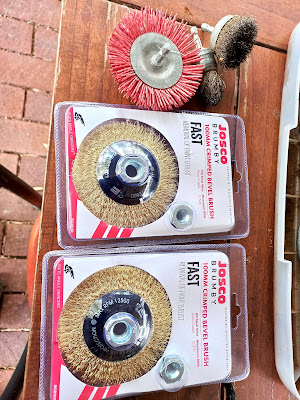 |
| Wire brush wheels for grinder |
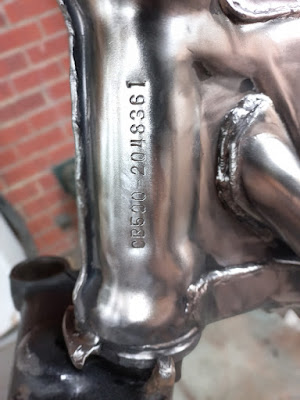 |
| Frame number Honda CB500K1 1972 |
I left the frame under the gazebo in the backyard but a freak storm with strong winds and heavy rain was able to reach the bare metal frame and it developed some flash rust within 24 hours... Grr .. another hour of grinding.
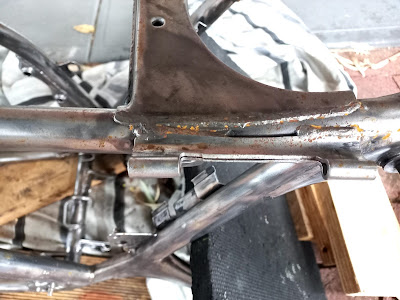 |
| Flash rust on bare metal frame |
I also removed the old steering ball bearings. This was another fight with a stuck lock nut. You need a special C-wrench for this lock nut but I didn't have one so I carefully tried it with a dull punch in the notches. Anyway it took me several attempts spread over two days to get it loose..
I will replace the ball bearings later on with tapered steering bearings, a very common upgrade on these old Honda bikes.
 |
Honda CB500K1 steering ball bearing lock nut
|
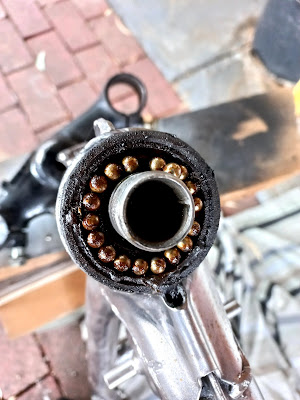 |
Honda CB500K1 old steering top ball bearing
|
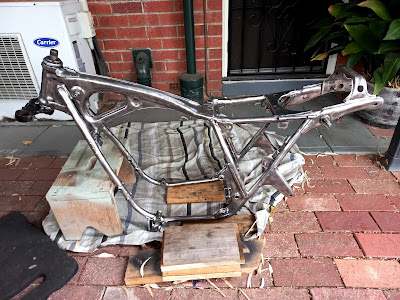
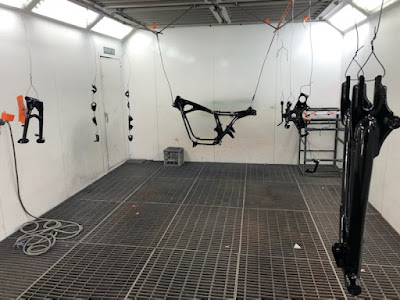
After carefully wiping the frame with wax and grease remover it received a coat of etch primer followed by 2pac gloss black and a couple of clear coats and it looks great :)
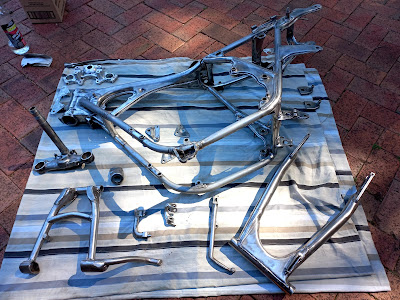 |
| Bare metal frame just before painting |
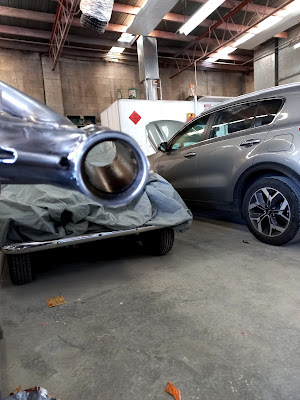 |
Old steering bearings removed, Nice view ;)
|
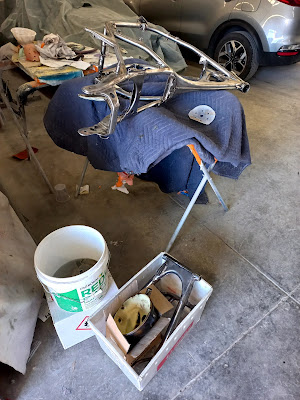 |
Frame cleaned with wax and grease remover
|
|
|
|
|
|
|
|
|
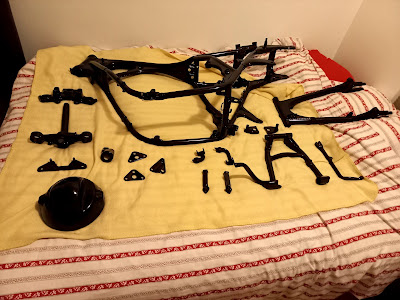 |
Honda CB500K1 frame after painting gloss black
|
 |
Hangers and key cover Honda CB500 K1
|
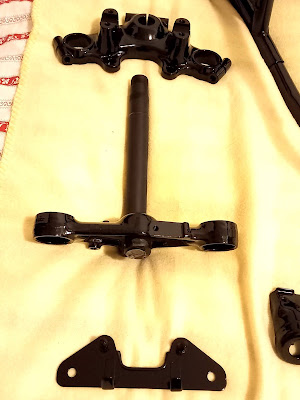 |
More painted bits Honda CB500
|
 |
Also the head light shell was painted after a crack repair
|
A week later the inner foot pegs, speedo and tacho also received some new paint as well. I used Gloss black caliper paint as I was painting the front brake caliper and brake disk with the same paint.
 |
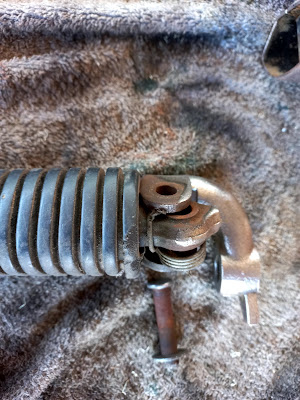
Honda CB500K1 old foot peg
|
 |
| Old foot peg |
 |
Old foot peg
|
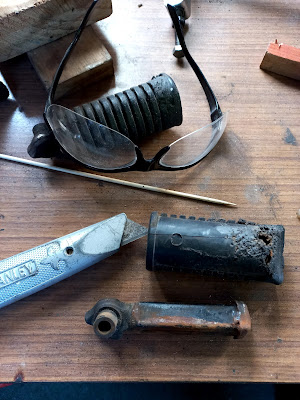 |
Honda CB500K1 cutting off old foot pegs
|
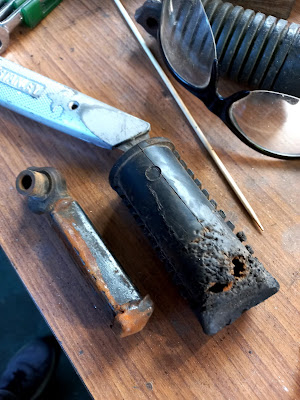 |
Cutting off old foot peg rubber
|
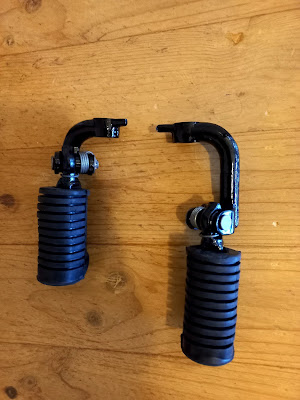 |
Honda CB500K1 foot pegs with new paint and rubber
|
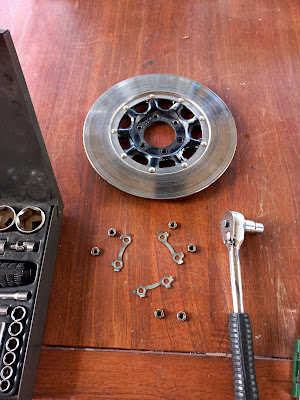 |
| Honda CB500K1 front brake disk with old paint |
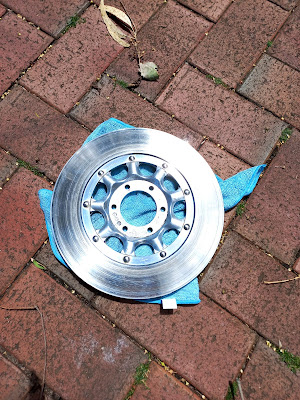 |
Honda CB500K1 front brake disk
|
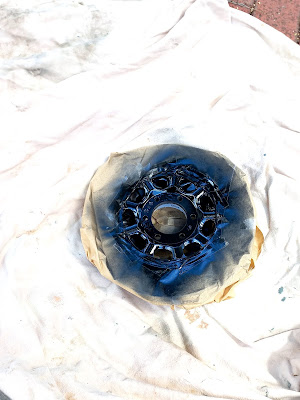 |
Painting front brake disk
|
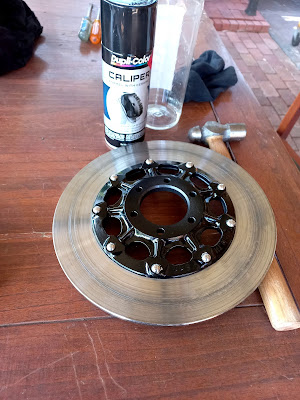 |
Painting front brake disk
|
 |
Brake disk front wheel
|
Update 28-01-2022:
I decided not to open the gauges because it's a difficult job and you most probably ruin the metal crimp ring. The faces are a bit faded but not too bad. The rubber rings between the gauges and holders were completely shot and crumbled when I separated them from the gauges. I ordered new ones but it seems they are a bit higher then the originals. But after bolting everything down they got pushed in and look fine.
I also tested the speedo on the workbench with a drill attached to the speedo cable. Make sure you put the drill in reverse otherwise nothing will happen :)
Testing the speedo with a drill
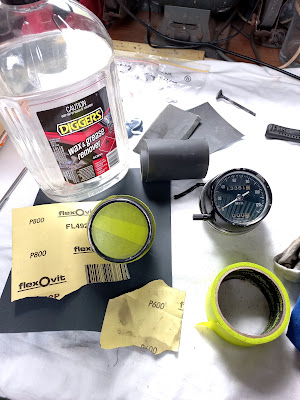
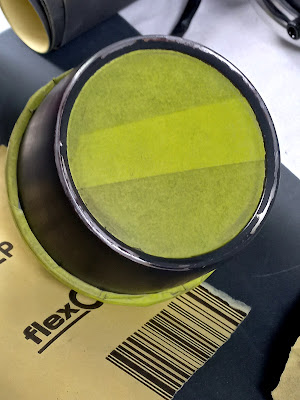
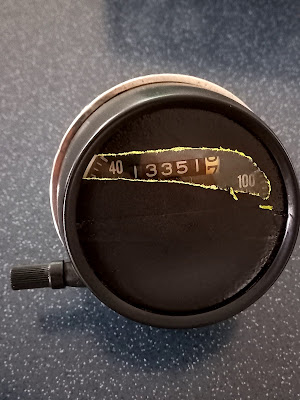
After sanding the gauges with 400, 600 and 800 I painted them on a high humidity day (ca 80%) so the gloss caliper paint would dry a bit more flat and would match the original colour. Make sure you mask the glass and chrome rings before you start sanding to avoid scratches.If you have a bit of overspray on the edge of the glass or chrome you can easily remove it with a razor blade.
 |
| Honda CB500K1 speedo and tacho parts 1972 |
 |
| Honda CB500K1 speedo and tacho masking |
 |
| Honda CB500K1 speedo and tacho masking |
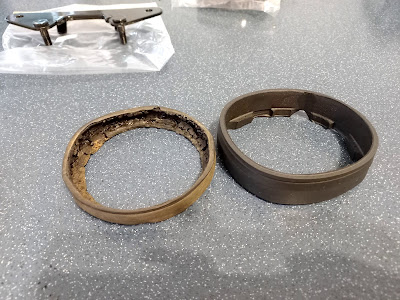 |
Honda CB500K1old and new gauge damper rubber
|
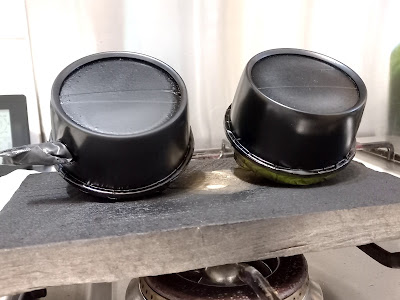 |
| Honda CB500K1 speedo and tacho painting |
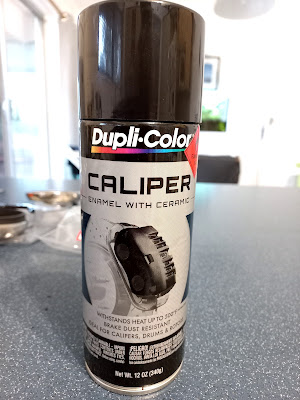 |
| Caliper paint - speedo and tacho painting |
 |
| Caliper paint - speedo and tacho painting |
 |
| Honda CB500K1 speedo painted |
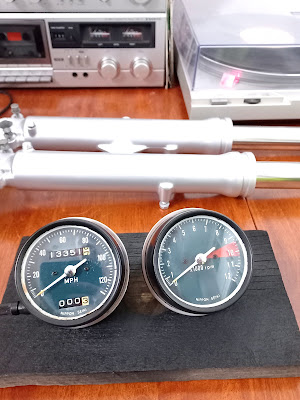 |
| Honda CB500K1 speedo and tacho painted |
 |
Honda CB500K1 tacho rubber look on poster
|


No comments:
Post a Comment