Saturday, 10 July 2021

New original Honda seat cover

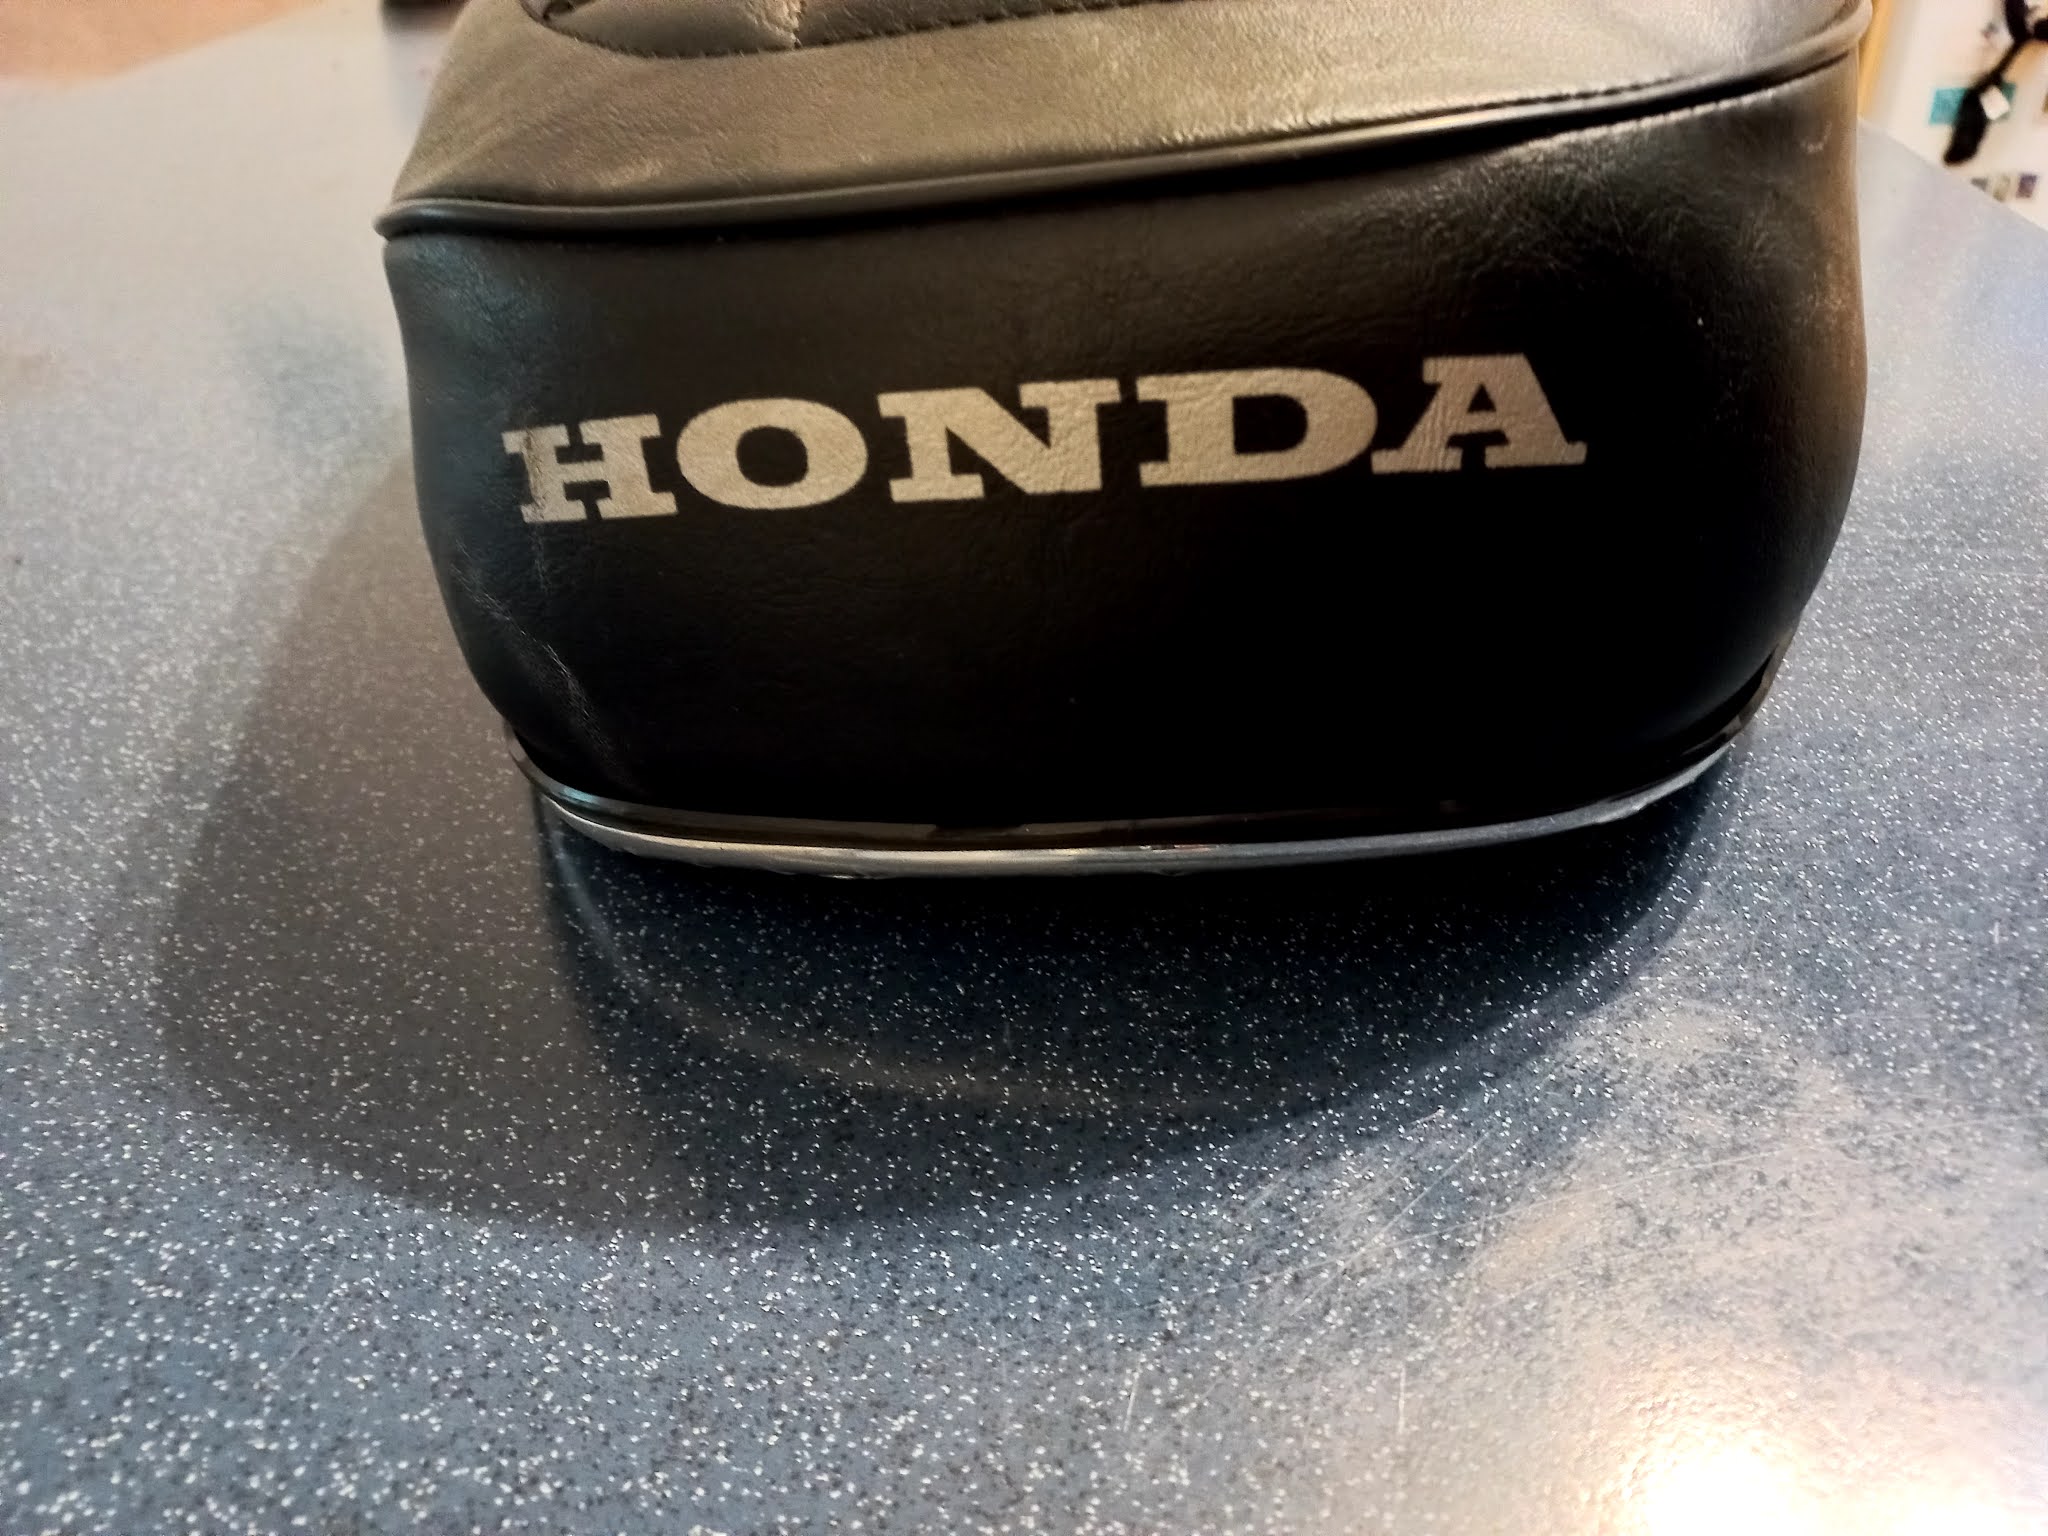
 The original seat was still on the bike but the seat cover had been replaced in the past with a non original one that showed some small rips. Luckily the bike came with a new original seat cover with the white "Honda" letters/logo on the back.

The seat still had the original chrome trim piece at the bottom but the chrome layer was flaking. I managed to remove it without damaging it and started sanding all leftover flaking plastic/chrome bits off. I ended up with a nice cream white trim. I remembered I had a roll of chrome/aluminium tape laying around in the shed and when I found it I used a small piece to find out if it looked good enough... and it did :)

Honda CB500K1 original seat

Honda CB500K1 four original seat
Honda CB500K1 original seat including chrome strip


So I taped the whole bottom strip with one piece of chrome/aluminium tape. I got some wrinkles but they were mainly on the inside so invisible. I was happy with the results and later on I can always easy replace it with an original new one... when I find one that is ...

Honda CB500 K1 original seat chrome trim
Honda CB500K1 cleaning and sanding original seat trim

Honda CB500K1 original seat trim with aluminium tape
CB500K1 original seat trim trial with aluminium tape


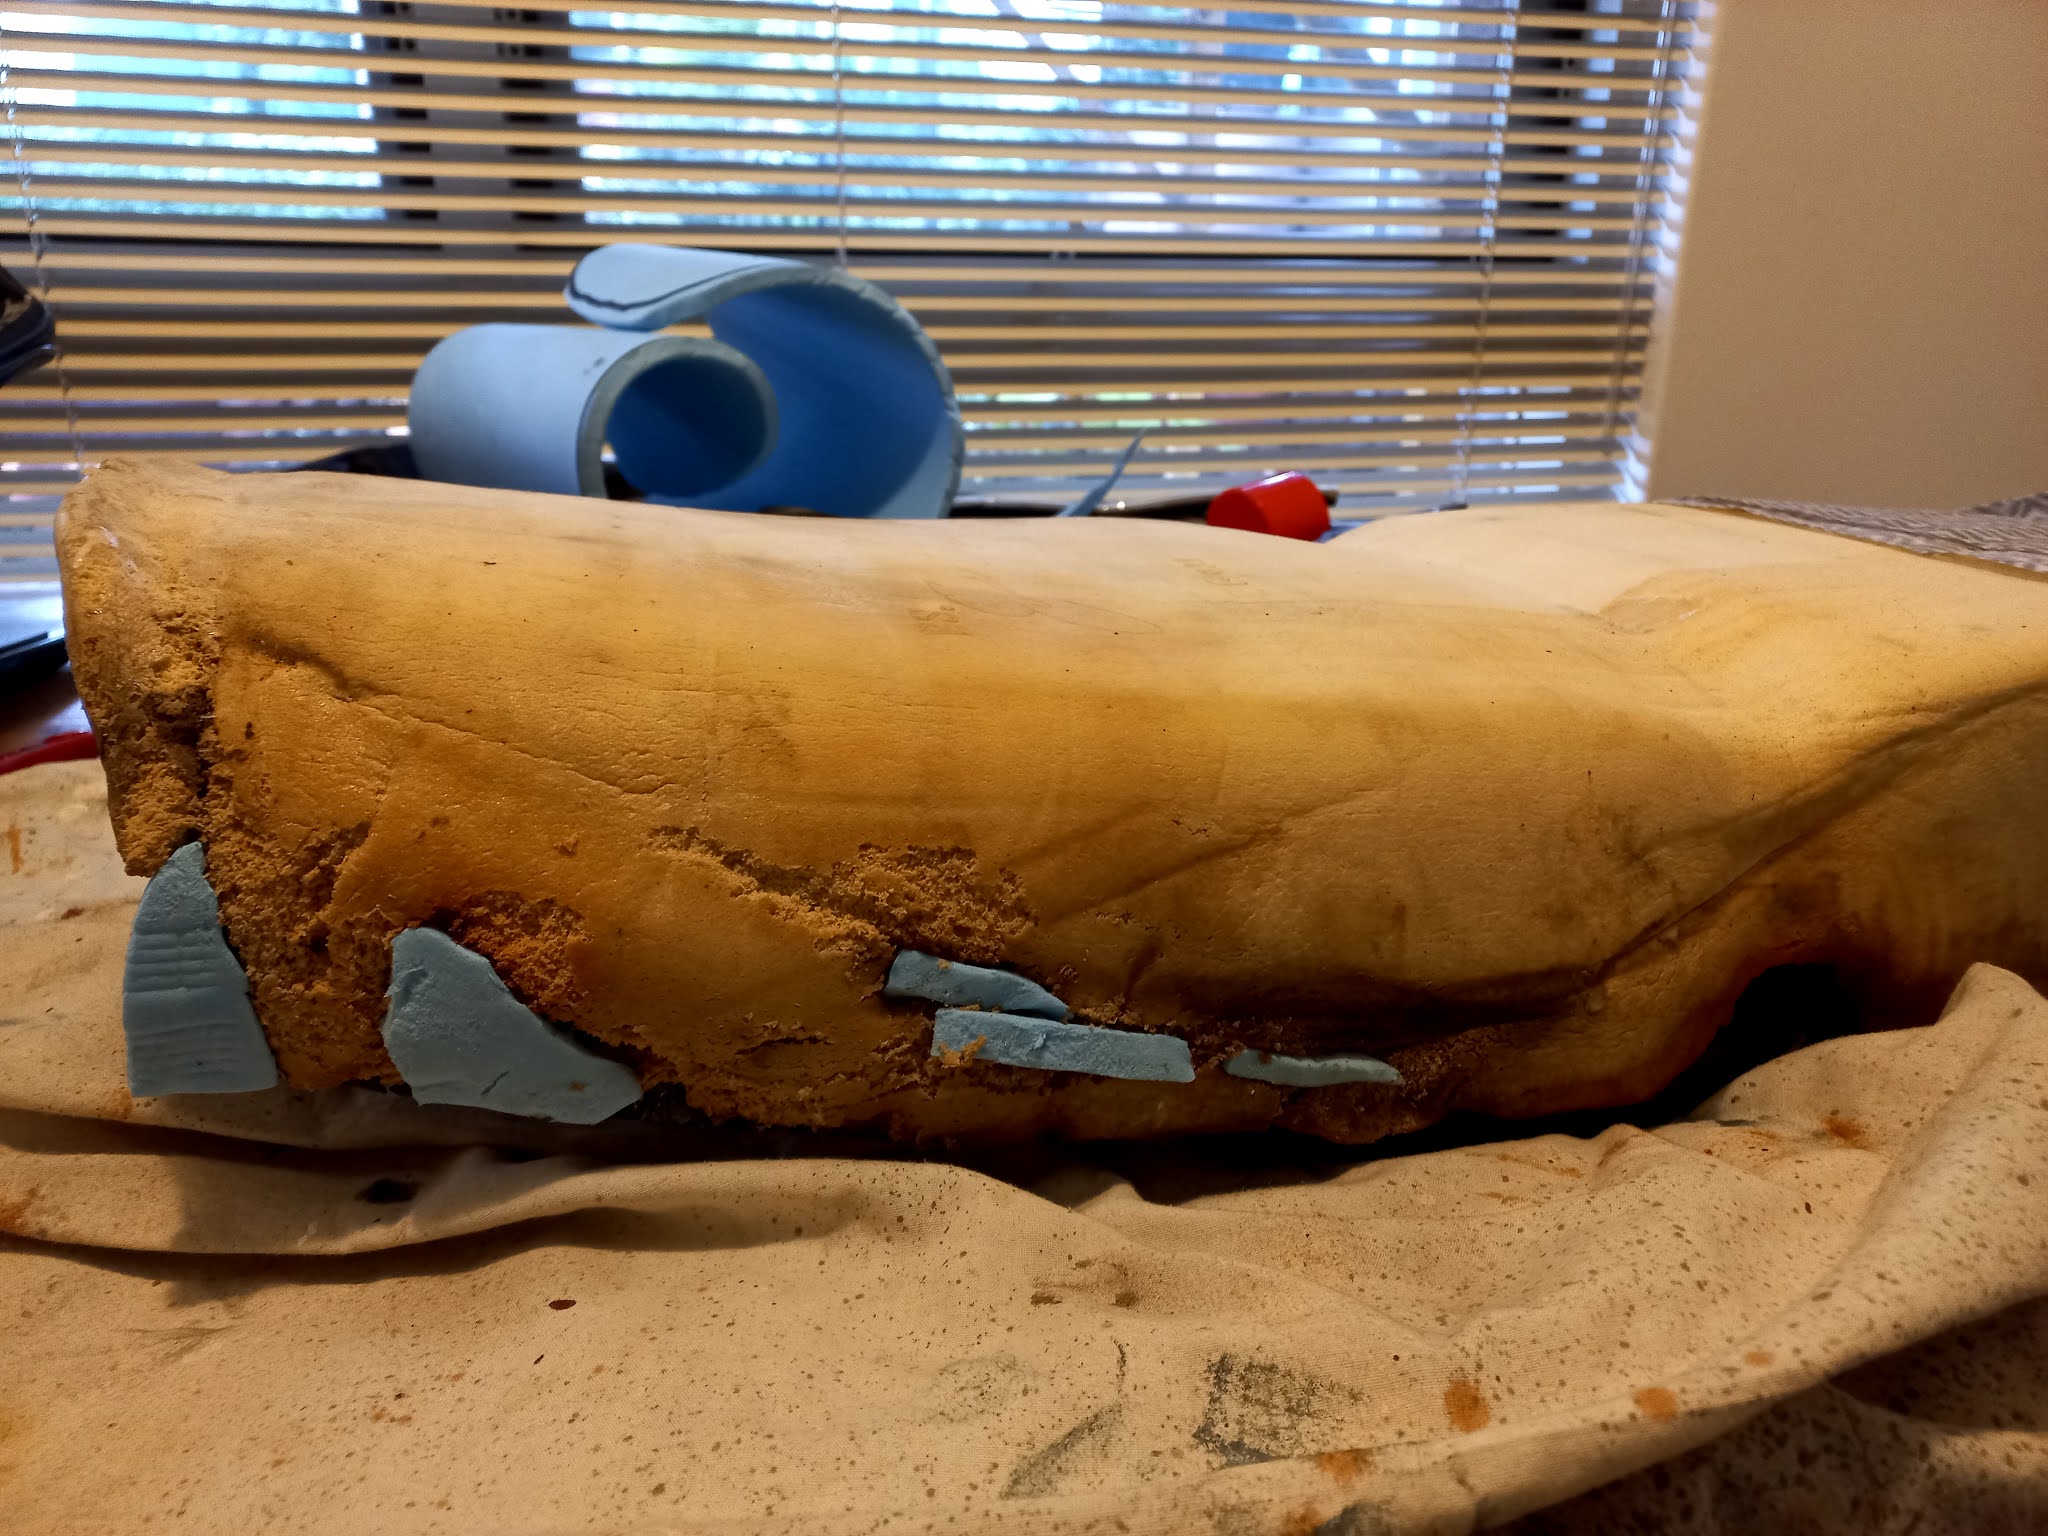
Ok back to the seat.. I removed all parts and took the old cover and foam off. The foam was in resonable condition but had some small holes here and there. I filled them with some foam bits from a camping mat.

CB500K1 original seat taken apart

 
Honda CB500K1 seat foam repair
Honda CB500K1 seat foam repair with pieces of a camping matress

Then I used the grinder with a copper wire brush to get rid of all the old paint and rust on the seat pan. On one site you can see some small rust holes but nothing too mayor. 

CB500K1 four original seat taken apart
CB500K1 original rusty seat taken apart

CB500K1 original seat and battery holder
CB500K1 original seat and battery holder back to bare metal

Honda CB500K1 original seat back to bare metal


Then I cleaned the seatpan with some wax and grease remover and painted it gloss black with POR15.

My neighbour Larry told me an upholstery trick to glue chux wipes all over the seat, that way the new seat cover will look smoother after installation. It's best to use spray on glue (see pic below) for this.

Honda CB500K1 original seat foam

Honda CB500K1 seat foam covered with Chux
Using Chux cloth wipes

Honda CB500K1 seat foam covered with Chux
Honda CB500K1 seat foam with a layer of Chux on top


Another guy close to work helped me put the new seat cover over the seat without wrinkles (See original installation instructions at the bottom of this post).

Honda CB500K1 seat cover with Honda logo
Honda CB500K1 new seat cover with Honda logo

The next thing to do was restore the seat strap. I had a new strap but I liked the original one better so I cleaned it and took the old hardware off. The little nuts were completely rusted and it took some WD40 and a vice to get them separated from the bolts.

Honda CB500K1 seat strap
Honda CB500K1 taking apart the seat strap

I also bought some new hardware for the strap at 4into.com including the chromed retaining bits at the end.

Honda CB500K1 rebuilding the orignal seat

Honda CB500K1 rebuilding the orignal seat

Honda CB500K1 rebuilding the orignal seat
Honda CB500K1 orignal seat rebuild

Honda CB500K1 orignal seat rebuild

Maybe not like a perfect new seat but at least it's mostly original including the letters at the back which are missing most of the time when buying a brand new replica seat.

The new seat cover came with an A4 with installation instructions. For those who are interested you can find a copy of them below (tip: right click on pics to see them in a bigger size).

Honda CB500K1 orignal seat cover instructions
CB500K1 seat cover installation instructions

CB500K1 seat cover installation instructions


Friday, 9 July 2021

Rebuilding the master brake cylinder

 The bike came with some temporary small chinese master brake cylinder. It did work but the braking power was minimal. I guess putting my foot on the asphalt would have the same braking power...


Honda CB500K1temorary master cylinder
Honda CB500K1 temporary master cylinder

Luckily the old clogged up master brake cylinder came as a spare part with the bike. It was completely stuck and was in desperate need of a rebuild.

Honda CB500 K1 1972 master cylinder
Honda CB500K1 master cylinder 

Honda CB500K1 master cylinder exploded view


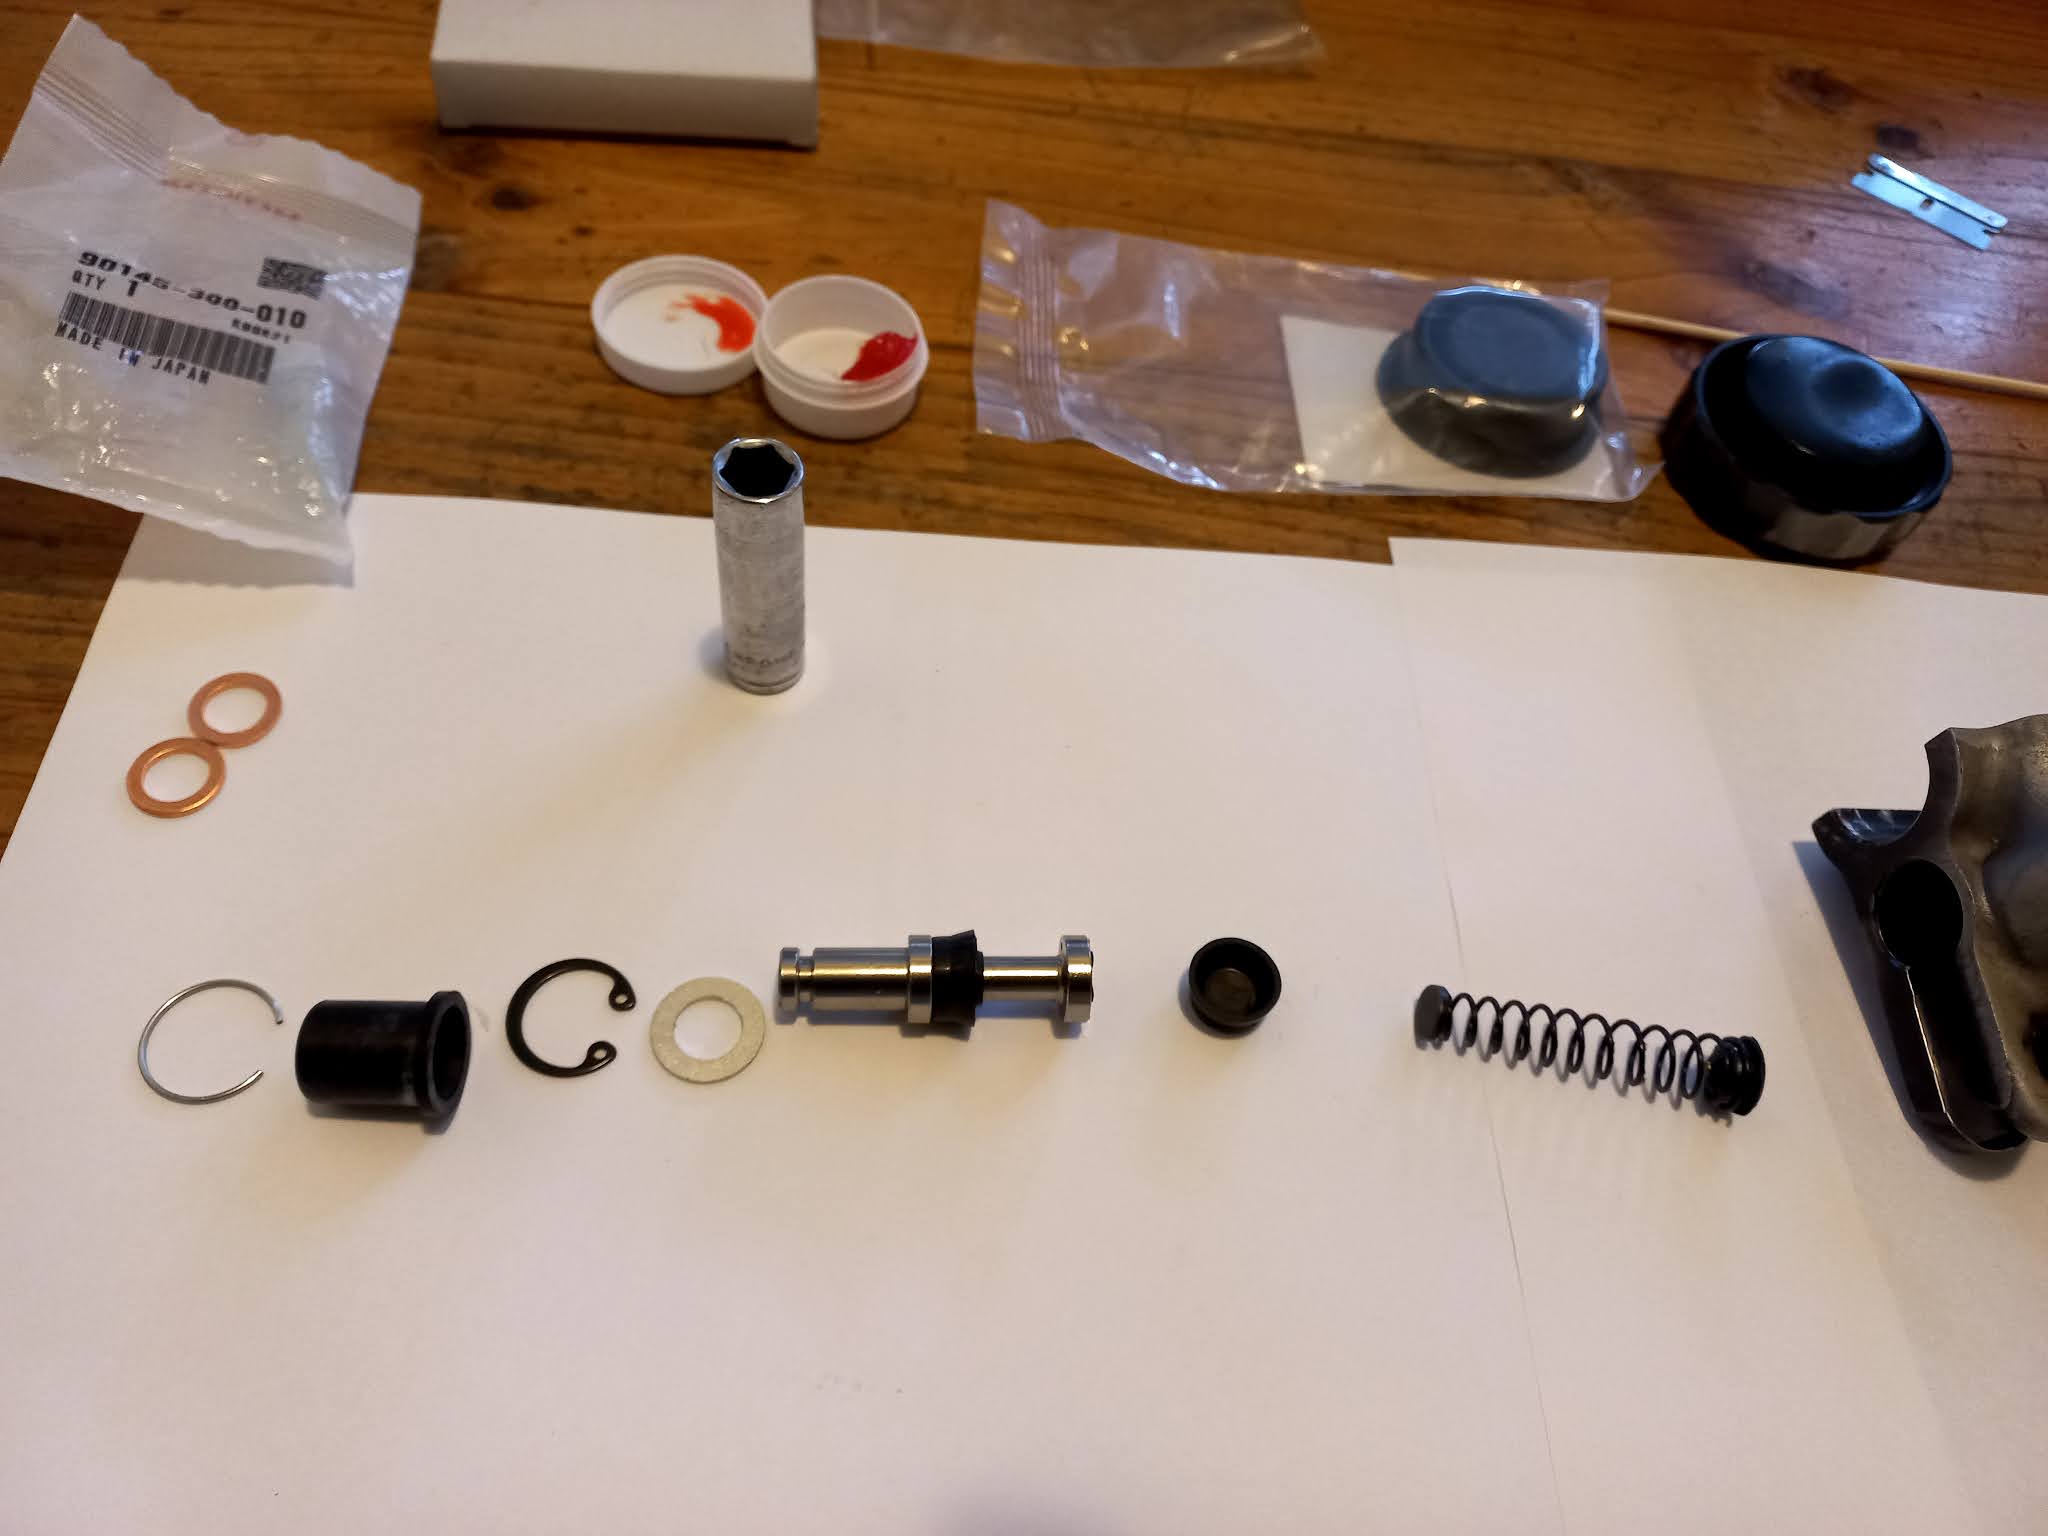
So I bought a rebuild kit for around 25 dollar from 4into1.com and started the rebuild.

It looks easy but it can be a real pain to get all the old rusted, clogged parts out of the mater brake cylinder.

The biggest challenge was to get the retaining clip out. It sits quite deep in the narrow shaft and most tools are too fat to reach it. The best option is to use a pick or similar. For more than an hour it wouldn't move even a nano inch but then all of a sudden it snapped into 3 pieces and I finally could take it out. All the other pieces are now easy to remove.

Honda CB500K1 master cylinder exploded view
Honda CB500K1 master cylinder old bits

I gave the master brake cylinder a good clean and sanded the inside with 240 and then 400, 600 grid and finally some steel wool to get rid of most of the corrosion.

The rebuild kit comes with some red grease which should be applied to the new rubber bits. Of course the new retaining spring gave some trouble... I pushed it in all the way with a long socket that just fits inside the narrow master brake cylinder entrance. There's a small groove in which the clip should click in.. It looked like it clicked in the groove but apparently  it wasn't and everything got stuck inside, grrr...

Honda CB500 K1 1972 master cylinder rebuild kit
Honda CB500K1 master cylinder rebuild kit

Honda CB500K1 master cylinder rebuild


After some trial and error ther clip came out and in the second attempt I managed to get it click into its groove.

I also ordered a new cap as the old one was faded and damaged on the outside, and of course a new diaphragm. The plastic ring that goes between the cap and the diaphragm was still in perfect condition so I reused it.

Another little thing I had to replace was number 11 (part 45526-341-000) in the exploded view. It's a rubber/plastic tube and a piece of fishtank hose was a perfect fit ;)

Honda CB500K1 master cylinder bush right handle lever
Honda CB500K1 master cylinder bush 45526-341-000


Honda CB500K1 master cylinder rebuild

All done :)

Thursday, 8 July 2021

Honda CB500 K1 1972

Back in the nineties I used to own a couple of SOHC Honda bikes from the seventies. All sold but still in my mind I started looking for a nice CB project to help me through the dark winter evenings. Browsing internet for a Honda CB I came across a 1972 Honda CB500 K1.

Honda CB500 K1 Four ad
Honda CB500 Four advertisement

Honda CB500 Four advertisement
Honda CB500K1 1972

Honda CB500K1 Four
Honda CB500 K1 1972

Honda CB500K1 Four
Honda CB500 Four

The bike had been sitting in a shed for well over ten years and the engine was stuck from doing nothing for all those years. It came with a 4in1 exhaust and a poor quality custom brushed on paintjob but besides that it was almost a 100% stock original bike.

I've always liked the early CB500 bikes and as I was looking for a winter project I decided to pick up the bike as it was only a 1200 km drive (one way). It was a fun roadtrip with my bestie Batty over long flat roads across the middle of nowhere. No signs of life except for kangaroos, emus and speeding roadtrains.

The bike was as advertised and came with some original spare parts. Another nice surprise was the original owners manual still sitting in the seat and the stock airbox filter and toolkit tray were still there.

Honda CB500K1 owners manual

Honda CB500 K1 1972 owners manual
Honda CB500K1 owners manual


Honda CB500 K1 Four
Pick up Honda CB500K1 with my Mitsubishi van


Back home I started cleaning the bike, there was a thick layer of greasy dust all over the bike.

Honda CB500K1 Four 1972
Honda CB500 waiting for some TLC

Honda CB500 Four 1972
Honda CB500K1

After changing the oil, oilfilter and adjusting the tappets and ignition timing I tried to start the bike. It made some pops but would only run for a sec after spraying starter fluid in the original airfilter box. When I inspected the leaky fueltap I found out it was almost completely blocked with dirt and tiny rust particles.

So I quickly made an external fueltank from a big syringe :)


Honda CB500 four 1972
Syringe fuel tank :)

Honda CB500K four
Auxillary seringe tank

After some more kickstarting (the way too small battery in the bike was almost flat) the old Honda CB500 came back to life.  

                                                                   Honda CB500 K1 running


It probably needs a good carb clean and synchronising and some new sparkplugs but I was really stoked with the fairly easy but big progress.

Honda CB500K1 Four 1972
Honda CB500K1 1972


Now I know everything is working it's time for some resto :)