Saturday, 29 January 2022

Honda CB500K1 clutch and gear shifter

 While rebuilding the engine it was a no brainer to also replace the worn gear shift spindle and check all other clutch parts. The gear shit spindle was stripped and they fixed it by grinding a groove in it and then hammering a metal pin in it while the gear change pedal was on the spindle. It works well but new is better.
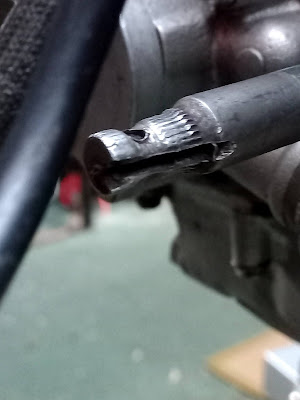
Worn shift spindle Honda CB500K1 1972
Worn shift spindle Honda CB500K1


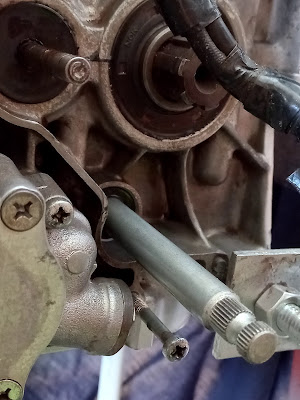
In order to remove the gear shift spindle you have to remove the clutch assembly (the basket that holds the clutch plates), after that you can just slide it out while holding down the gear shift arm which is part of the gear shift spindle.

Now you can easily replace the gear shift spindle oil seal on the other side.
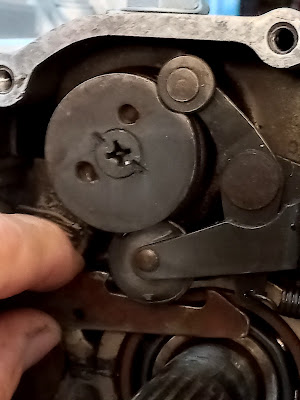
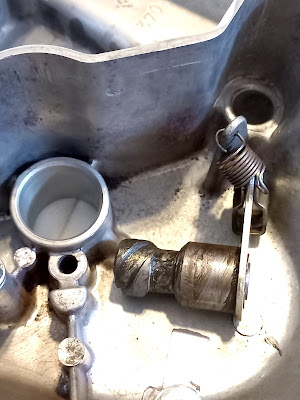
The new gear shift spindle from CMSNL will fit but it has a slightly different design as you can see in the pics. So in order to fit it you have to take out the shift drum stopper bolt (right top of pic, just above the small spring) otherwise you can't get the gear shift arm in place.
Don't forget to replace the oil seal on the shift pedal side.
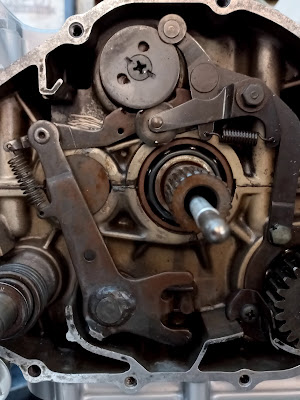
Replacing worn shift spindle Honda CB500K1 1972
Shift spindle and shift drum stopper Honda CB500K1

Worn shift spindle Honda CB500K1 1972
Removing worn shift spindle Honda CB500K1

Worn and new gear shift spindle Honda CB500K1 1972
Worn (left) and new (right) shift spindle Honda CB500K1


Clutch basket Honda CB500 four 1972

 
New gear shift spindle Honda CB500 four 1972
New gear shift spindle and oil seal Honda CB500 four

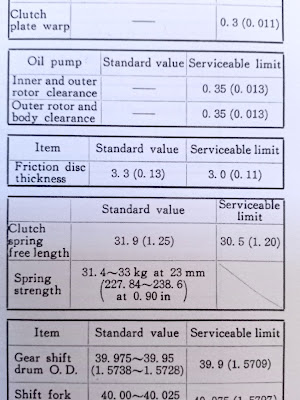
I already bought new clutch friction disks and clutch springs but when I checked the disks they were in almost new condition. The standard value is 3.3mm thickness and these ones were over 3.2 mm.
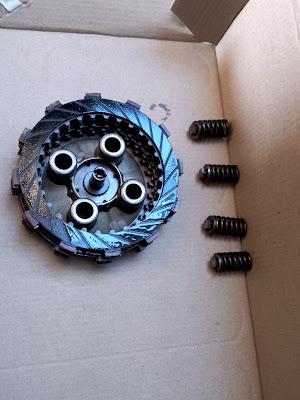
Clutch plates and springs Honda CB500K1

Measuring friction disks Honda CB500K1

You also have to check the metal clutch plates for warp by putting them on a completely smooth surface like eg. a glass plate and check with a feeler gauge if it's still not wrapped.

The 4 clutch springs standard value is 31.9 mm and the ones on the bike measured 30.9 mm , still within the limit of 30.5 mm. When I measured the new springs they were way longer than the original ones, 36.2 mm. They're so called heavy duty springs but I'm not gonna use 'em because I'm afraid they could break/snap the aluminium mounting pins ...
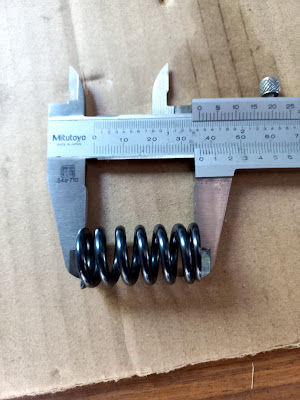
Measuring clutch springs Honda CB500K1

Clutch specs Honda CB500K1

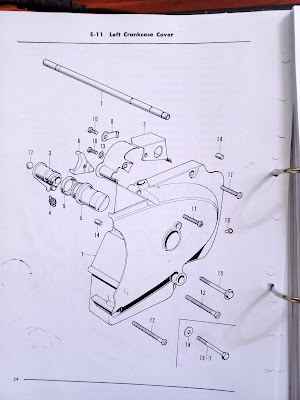
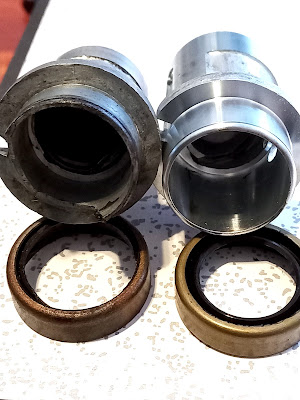
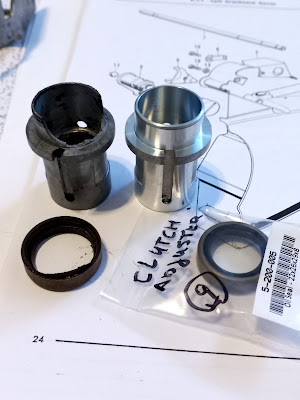
Another clutch part that needed attention was the clutch adjuster which is located in the left crankcase cover. It is pretty common for clutch adjusters to crumble at the top after many years of duty. This was also the case with this adjuster as you can see in the pics. Be carefull not to loose the metal ball that goes inside the clutch lifter and pushes on the clutch lifter rod when engaging the clutch.
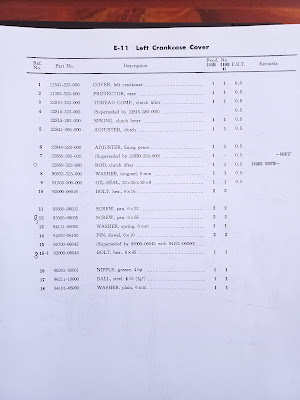

Parts list left crankcase cover Honda CB500K1

Exploded view parts left crankcase cover Honda CB500K1

Broken clutch adjuster Honda CB500K1

Old and new clutch adjuster with oil seal Honda CB500K1

Worm that sits inside clutch adjuster Honda CB500K1

Old and new clutch adjuster Honda CB500K1
Old and new clutch adjuster with oil seal Honda CB500K1

Old and new clutch adjuster with oil seal Honda CB500K1


Luckily you can still buy new original Honda clutch adjusters and if you bought the complet gasket set for the Honda CB500K1 from 4into1.com it will also come with a new oil seal which goes on top of it to keep the grease in.


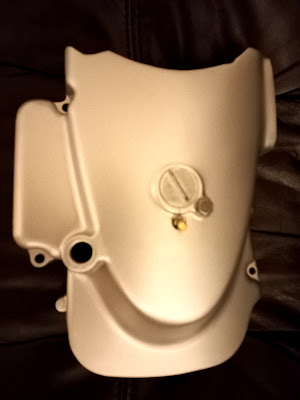
Left crankcase cover Honda CB500K1
Inside left crankcase cover Honda CB500K1

Left crankcase cover Honda CB500 four
Left crankcase cover Honda CB500K1

Clutch adjuster inside left cover Honda CB500K1


Sunday, 12 December 2021

Replacing the rear wheel bearings, brake, sprocket and tyre

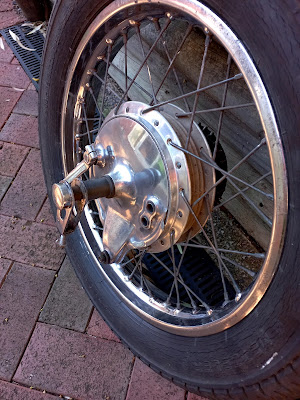
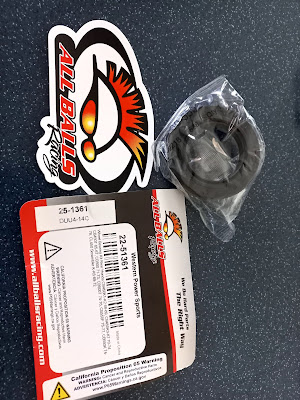
 The original rear wheel ball bearings weren't of the highest quality and within 10000km they're toast. So I decided to replace them and bought a set of All Balls wheel bearings.

Honda CB500K1 rear wheel bearing
Honda CB500K1 rear wheel

Honda CB500K1 1972 rear wheel bearing
Honda CB500K1 rear wheel bearing All Balls

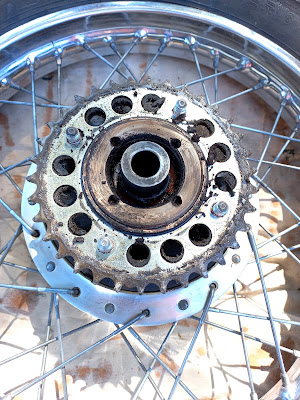
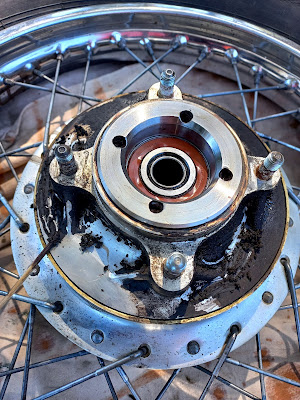
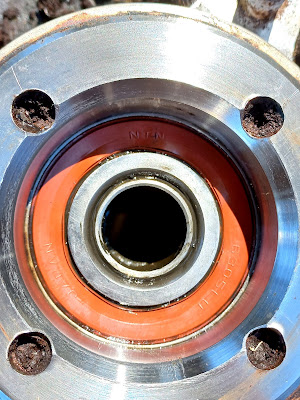
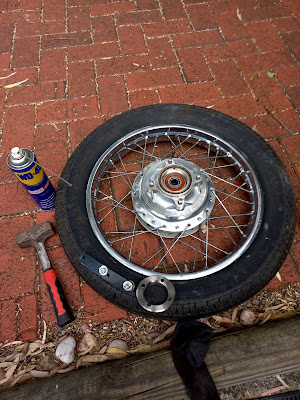
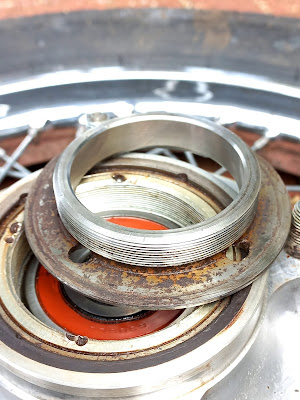
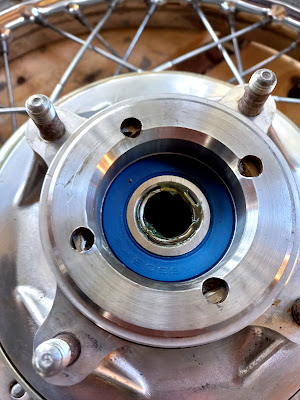
The hardest part was gonna be removing the rear wheel bearing retainer. It has 4 holes in which you put the pins of a special expensive tool. I wish I had one but no..
First I tried to hammer it carefully loose with a driver but it didn't move at all. Hmm, time for a DIY tool..

Honda CB500K1 1972 rear wheel
Honda CB500K1 rear wheel retaining plate

Honda CB500K1 rear wheel bearing
Honda CB500K1 rear wheel old sprocket

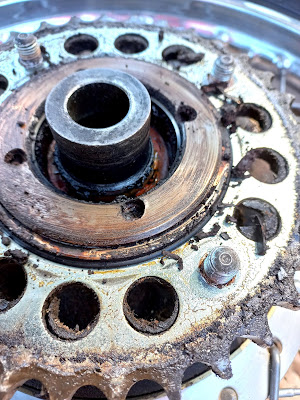
Honda CB500K1 rear wheel bearing retainer

Honda CB500K1 rear wheel bearing retainer
Rear wheel retainer after some cleaning

 
Honda CB500K1 rear wheel bearing retainer
Rear wheel bearing retainer and orange old bearing

Honda CB500K1 rear wheel bearing retainer
Rear wheel bearing retainer

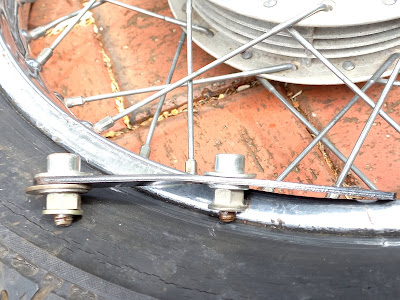
I took a piece of steel and drilled 2 holes in it at the same distance as the holes in the bearing retainer, put some bolts in it and secured them with nuts. The end of the bolts should fit into the retainer holes.


Honda CB500K1 DIY bearing retainer tool
Honda CB500K1 DIY rear wheel bearing retainer tool

Honda CB500 four DIY bearing retainer tool
 DIY rear wheel bearing retainer tool

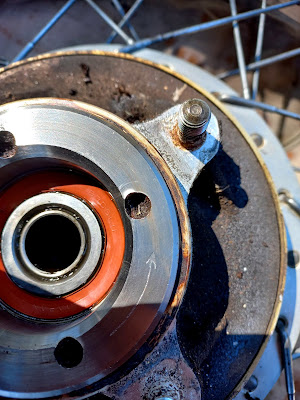
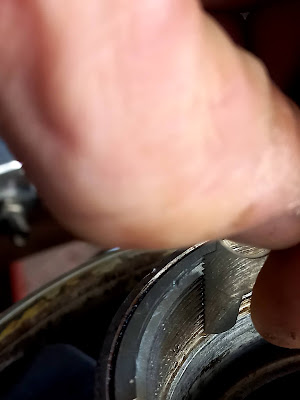
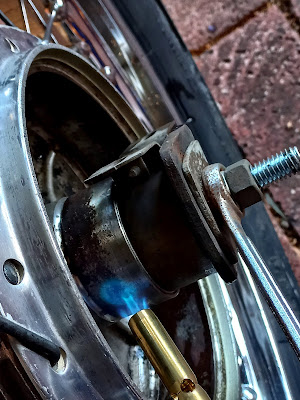
After heating the retainer/hub and some hammering on the DIY tool the bearing retainer finally came loose. Remember the bearing retainer on the Honda CB500K1 is reverse threaded. There's also an arrow engraved to indicate this.

Honda CB500K1 reverse threaded rear wheel bearing retainer
Reverse threaded rear wheel bearing retainer, see arrow

Honda CB500K1 rear wheel bearing retainer
Finally..

Honda CB500K1 rear wheel bearing retainer
Close up...


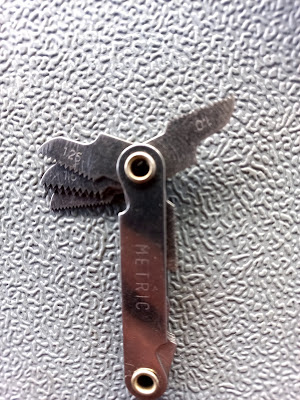
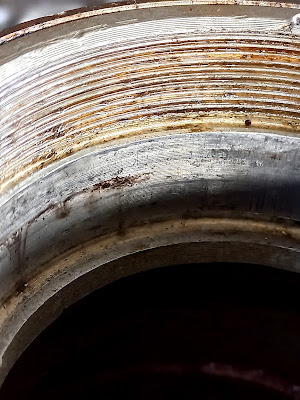
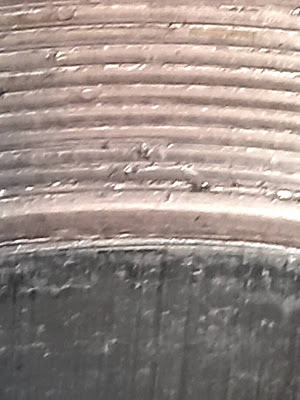
Very often the thread is a bit damaged / crossthreaded but as long as it isn't too bad you can fix this with a tap of the right size. My tap and die set came with a handy thread measuring tool and in my case it was 1.0 metric thread. The trick is to slowly roll the right tap trough the damaged threads and most of the time they will get fixed.

Fixing cross threaded rear wheel bearing retainer

Fixing cross threaded rear wheel bearing retainer
Close up

Fixing cross threaded rear wheel bearing retainer
Measuring the thread

Fixing cross threaded rear wheel bearing retainer


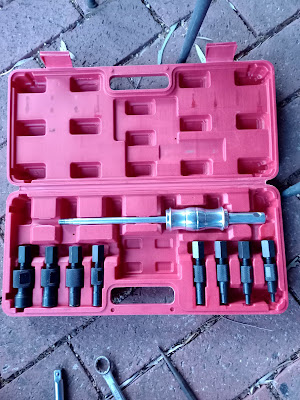
Now I had to remove the two bearings. This can be tricky beacause they're on both sides of the hub which makes it a bit harder to hammer 'em out with a punch. After heating the hub and bearings and some fiddly hammering the bearings still wouldn't move at all. I applied more heat but still no movement.I even tried it with a special bearing remover tool, still no luck

Wheel bearing remover tool
 

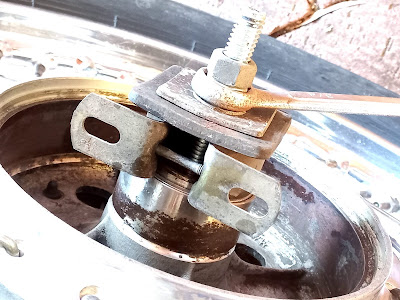
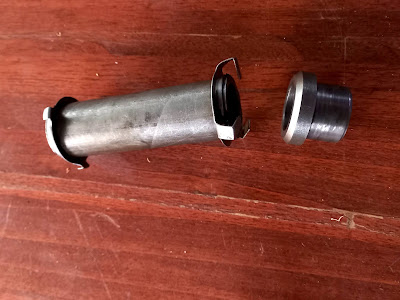
 Time for another DIY tool. I took a threaded rod and put a big thick washer on one side and on the outside I used a car exhaust mount which was the exact size to put on the hub and big enough to let the bearing through. On the other side of the hub with bearing I used a piece that was just small enough to go through the middle of the bearing but big enough to push on the spacer between the two bearings. Anyway, have a look at the pics...

Honda CB500K1 DIY wheel bearing remover tool

Honda CB500K1 DIY wheel bearing remover tool
applying heat..

Honda CB500K1 distance collars rear wheel


Honda CB500K1old rear wheel bearings
Honda CB500K1old rear wheel bearings out

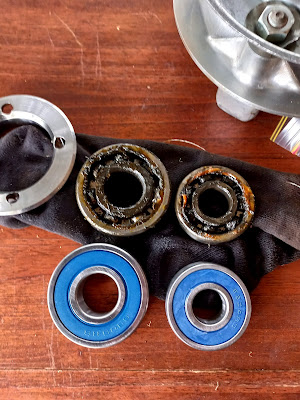
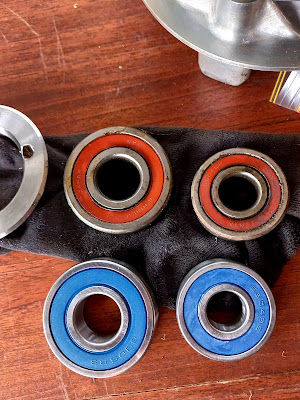
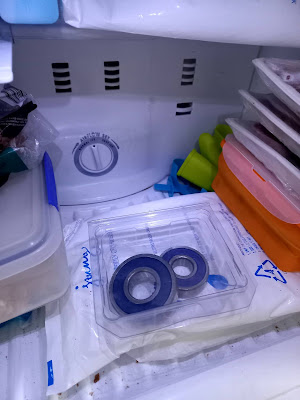
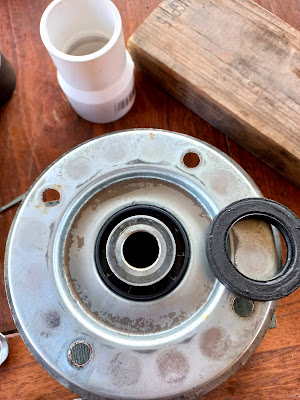
I'd put the new wheel bearings in the freezer 2 days ago so they would shrink a bit and are easier to install. When you install them make sure you only put pressure on the outside of the bearing. I used a big socket and a thick piece of pvc pipe to drive the bearings in.

Honda CB500K1old and new rear wheel bearings

Honda CB500K1old and new rear wheel bearings
Old and new rear wheel bearings

Honda CB500K1 new rear wheel bearings in freezer

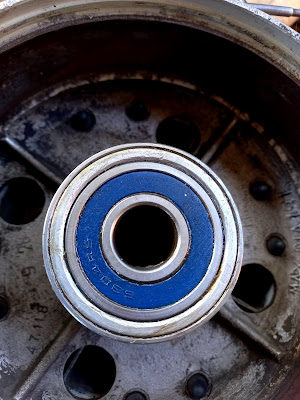
Honda CB500K1 new rear wheel bearings installed

Honda CB500K1 new rear wheel bearings installation
New bearing installed

Honda CB500K1 new rear wheel bearing seal
Honda CB500K1 old and new rear wheel bearing seal

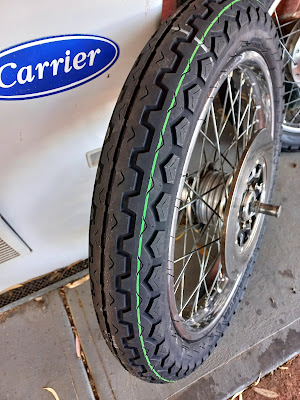
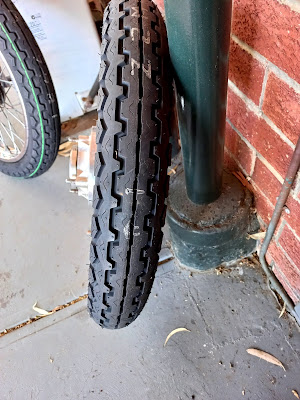
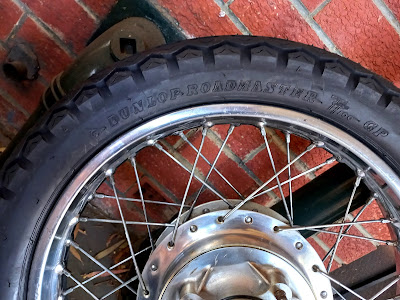
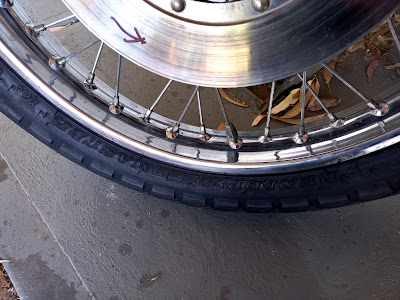
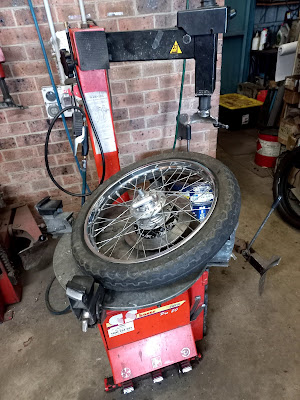
The bike also needed some new tyres and I went for the Dunlop Roadmaster TT100 GP for the front and rear wheel. They have a nice vintage look.

Honda CB500K1 Dunlop Roadmaster TT100 GP

Honda CB500K1Dunlop Roadmaster TT100 GP
Dunlop Roadmaster TT100 GP front wheel

Dunlop Roadmaster TT100 GP vintage profile

Dunlop Roadmaster TT100 GP classic profile
Close up..

Dunlop Roadmaster TT100 GP front wheel
 
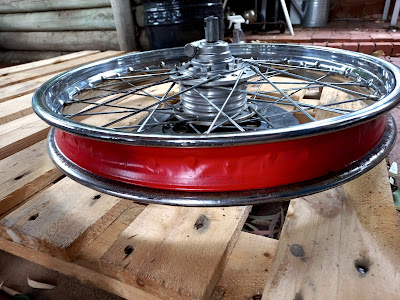
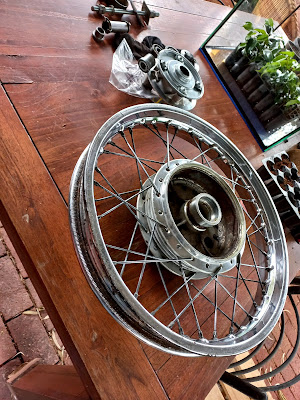
Before the new tyres were fitted I got rid of the rust on the inside of the rim and painted it with two coats of POR15 to prevent further rusting. It's pretty common to find rust on the inside of the rims..

Honda CB500K1 removing the old tyres

Honda CB500K1 removing rust inside rim

Honda CB500K1 removing rust inside rim
Surprise old tape inside rim

 
Honda CB500K1 removing rust inside rim
Painting inside rims with POR15

Painting inside rims with POR15 Honda CB500K1

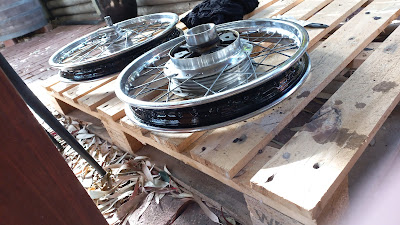
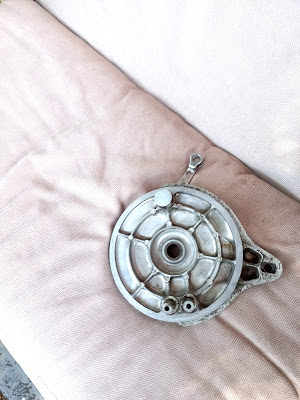
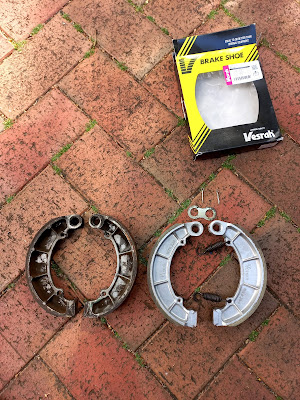
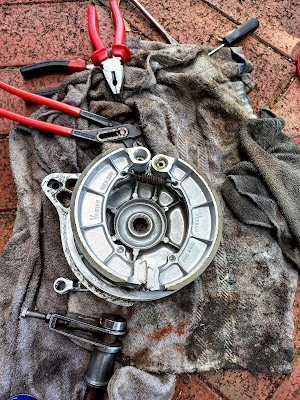
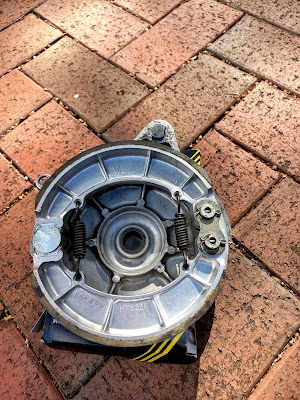
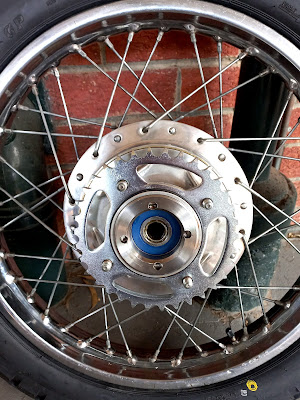
With new brake shoes and a fresh rear wheel sprocket fitted as well the rear wheel is all done for now.

Honda CB500K1 rear wheel brake panel

Honda CB500K1old and new brake shoes rear wheel

Honda CB500K1 installing new brake shoes rear wheel

Honda CB500K1 installing new brake shoes rear wheel
New brake shoes rear wheel

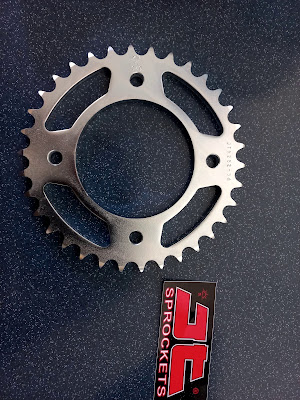
Honda CB500K1 installing new sprocket rear wheel
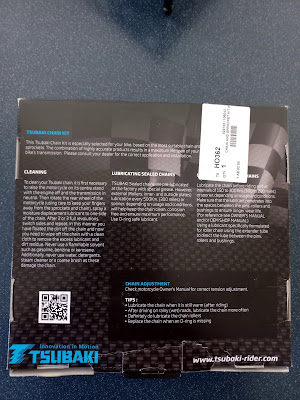
Honda CB500K1 new sprocket chain set Tsubaki

Honda CB500K1new sprocket rear wheel
Honda CB500K1 new sprocket rear wheel

Honda CB500K1 new 34T sprocket rear wheel

Honda CB500 four new 34T sprocket rear wheel
Almost done..:)